
How to Add a Pool (Web)

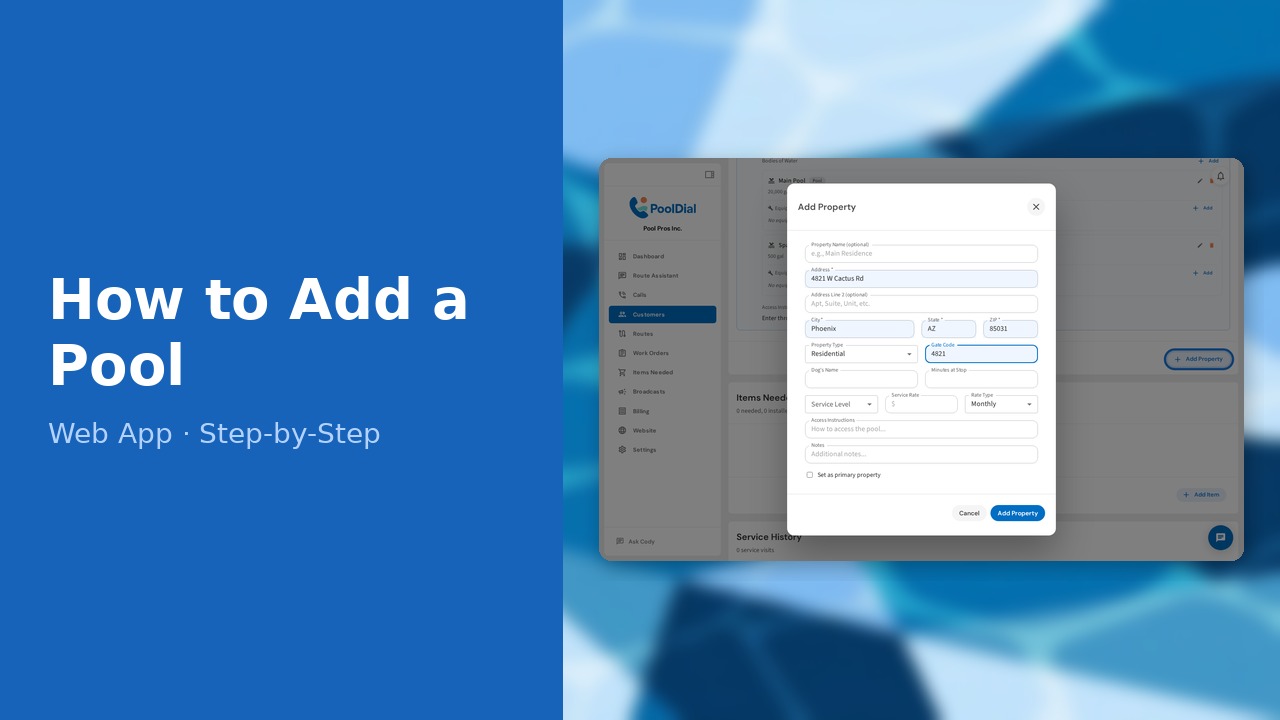
This guide walks you through how to add a pool (web) in PoolDial, step by step.
This guide covers 9 steps and takes about a minute to complete.
Video Walkthrough
Prefer to watch? Here's a full video walkthrough of How to Add a Pool (Web).
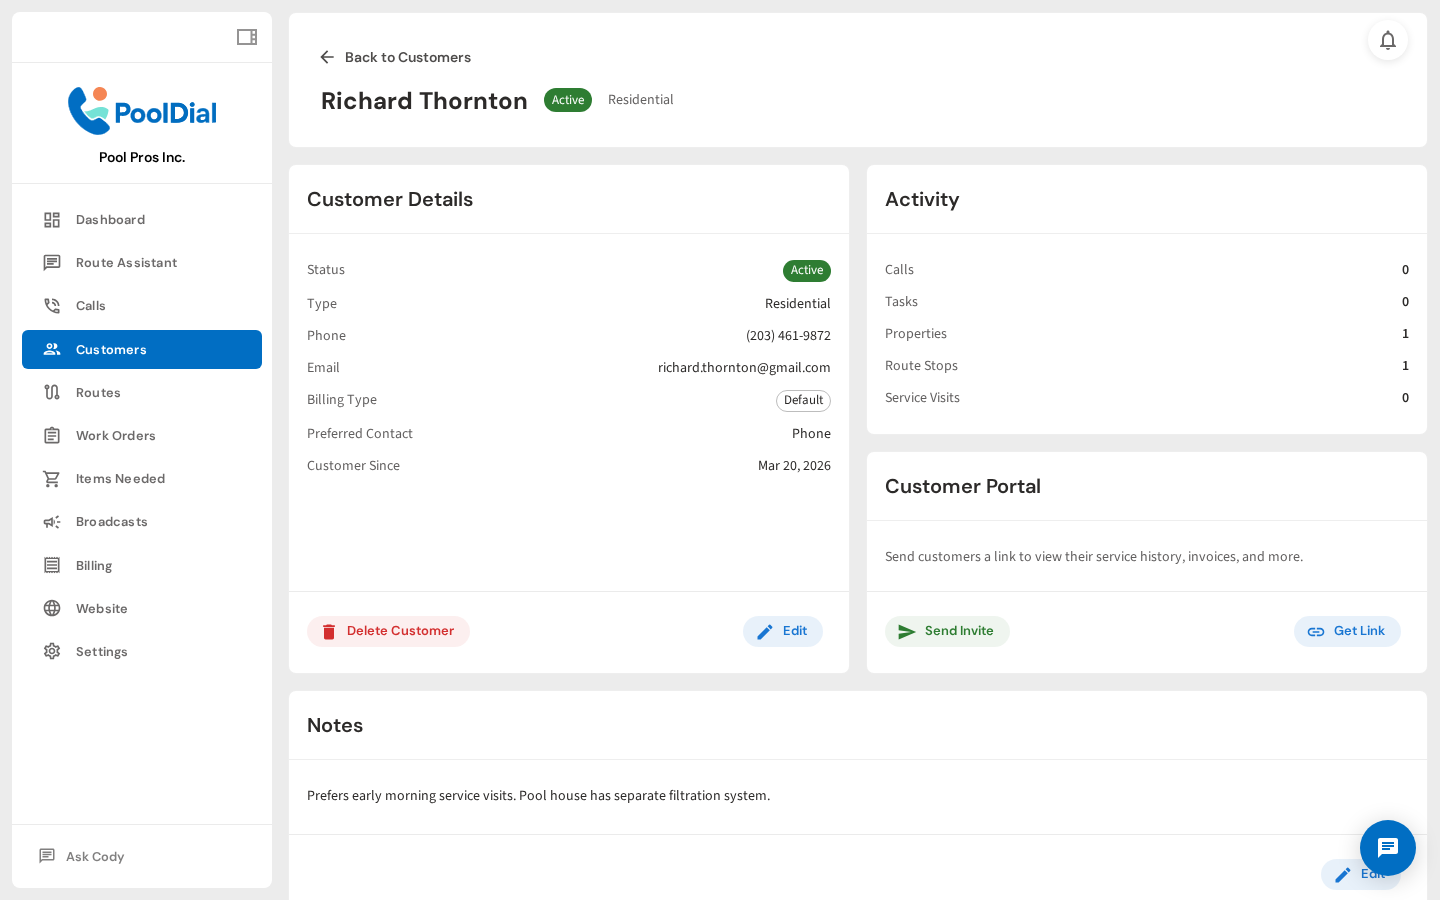
1. Customer profile — Properties section
Open a customer's profile and scroll down to the Properties section. This is where all of a customer's service locations and pools are managed.
2. Click Add Property
Click Add Property to add a service address. A property is the physical location where service happens — a customer can have more than one (e.g. a home and a vacation property).

3. Fill in the service address
Fill in the service address. PoolDial uses this for route mapping and stop cards. Add a gate code or access instructions so your crew has what they need on-site.
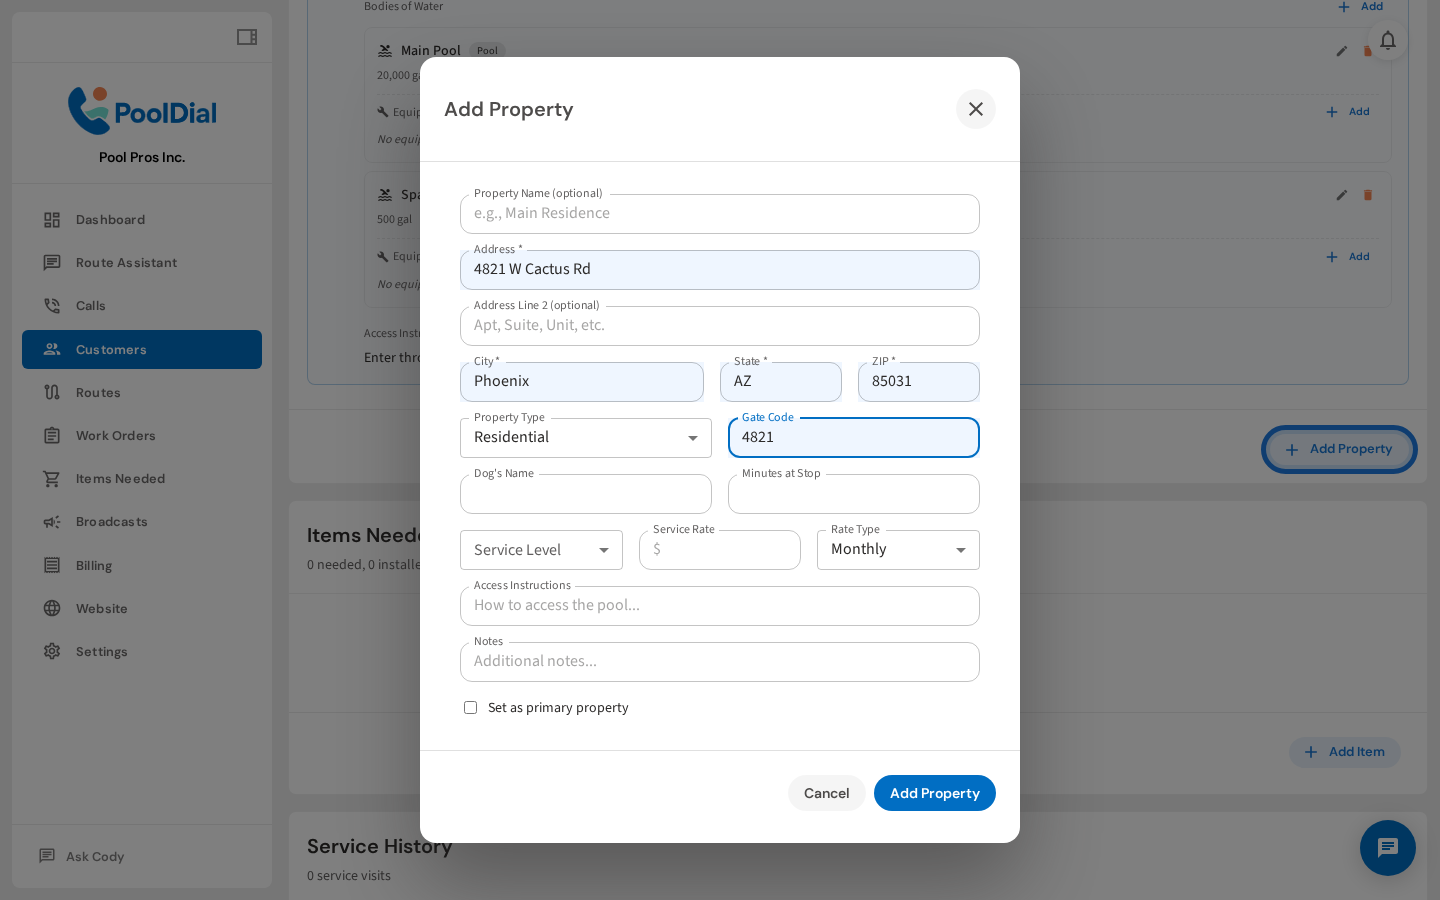
4. Click Add Property to save
Click Save Property. The address will appear in the customer's Properties section — now you can add the pool itself.

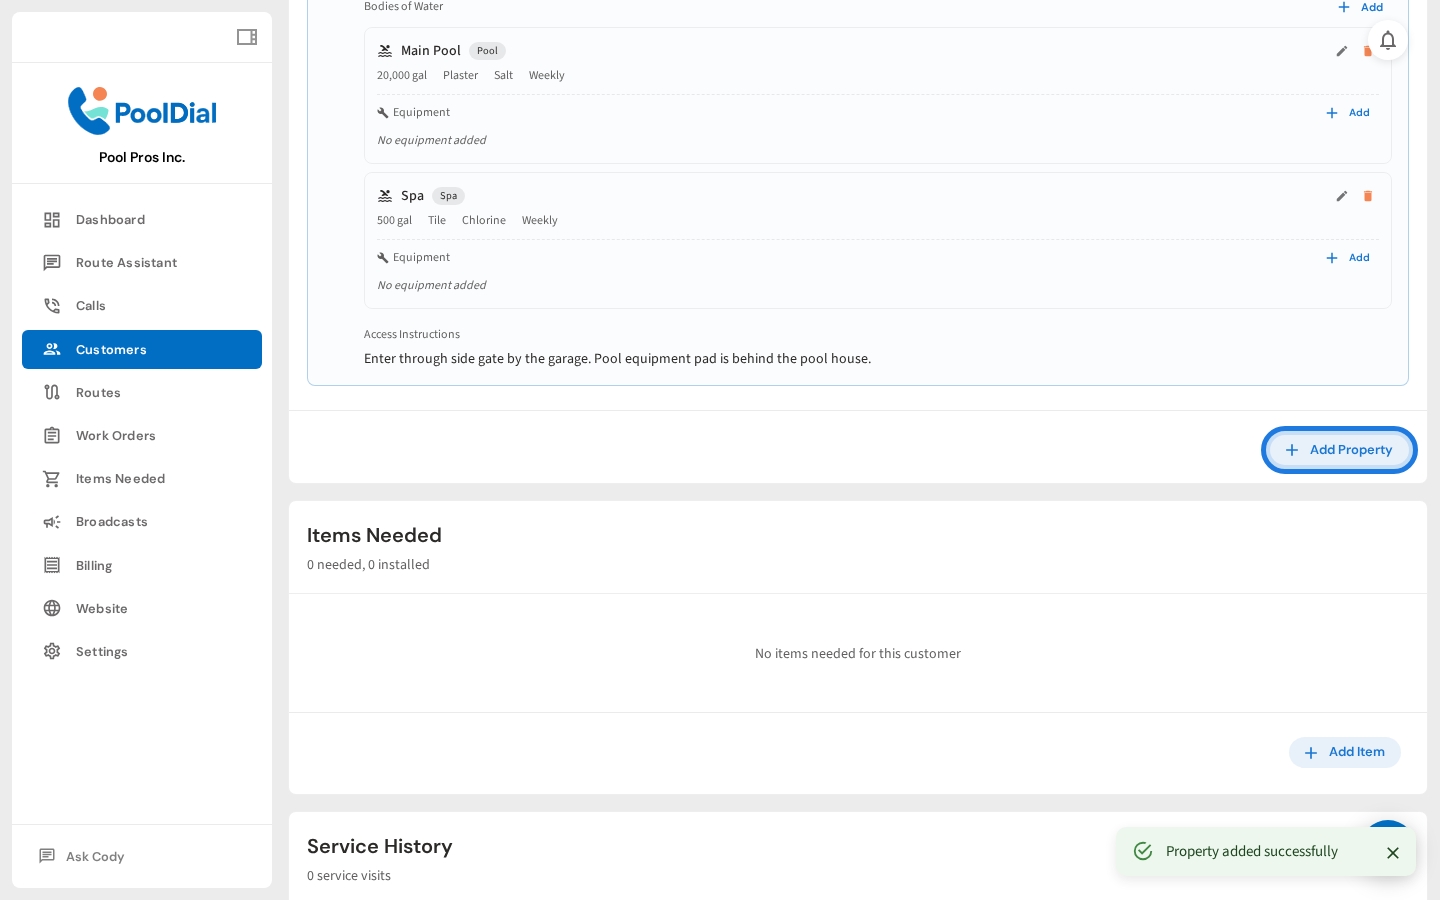
5. Click Add next to Bodies of Water
Click Add next to Bodies of Water on the property. A pool, spa, fountain, or any other water feature is added as a body of water.
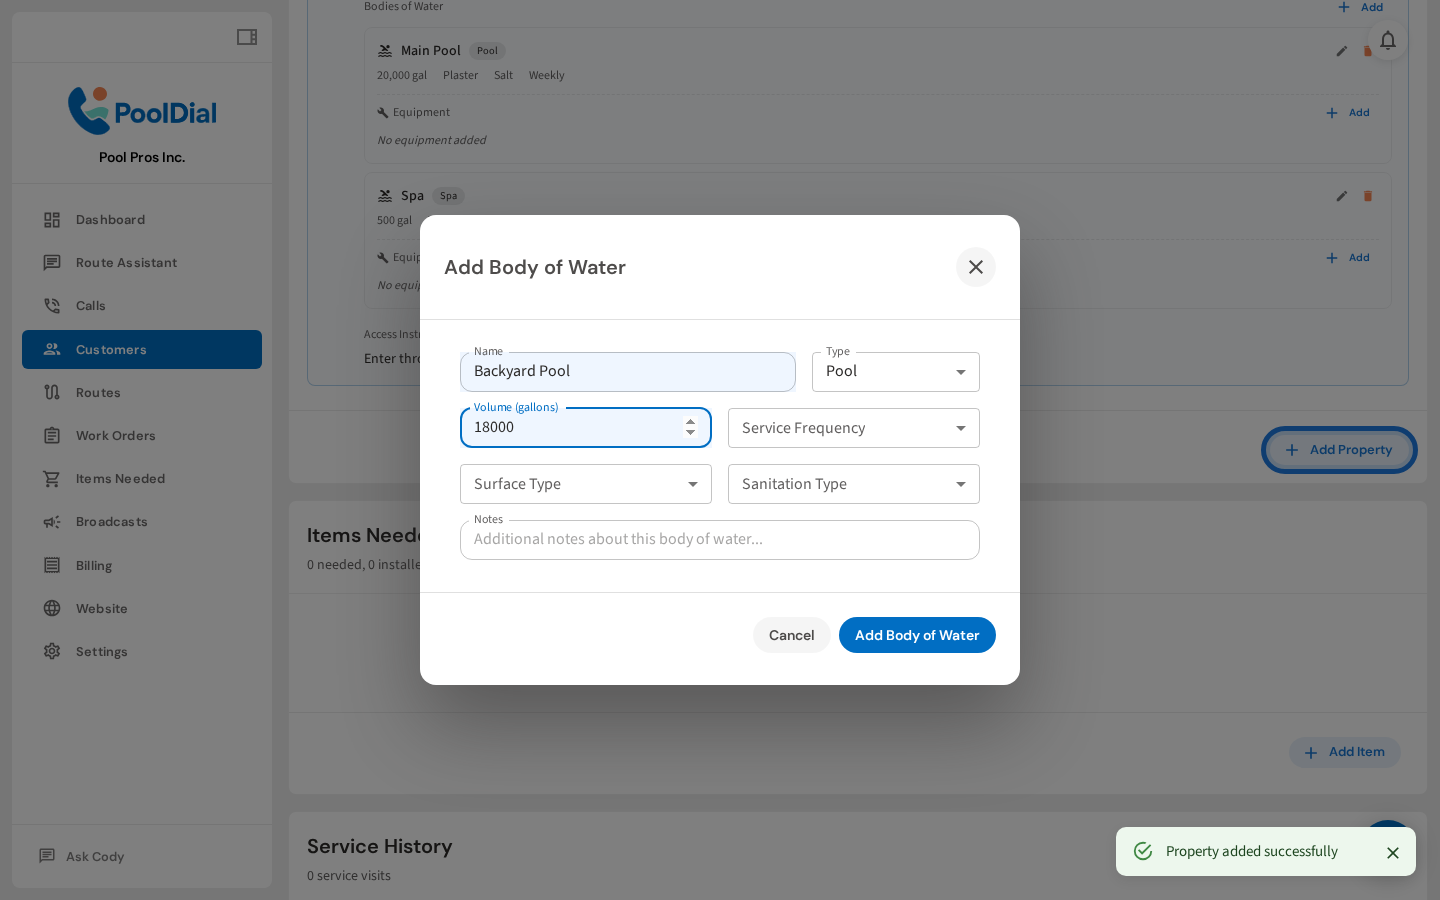
6. Enter pool name and type
Give the pool a name (like "Main Pool" or "Backyard Spa"), then select the type — Pool, Spa, Fountain, etc.

7. Enter pool volume
Enter the volume in gallons. This is used for dosing calculations — PoolDial uses it to calculate how much chemical to add. If you don't know the exact volume, an estimate works fine.
8. Set surface type and sanitation
Select the surface type and sanitation type. These affect chemical recommendations — plaster pools need different treatment than vinyl, and salt systems need different baselines than chlorine.
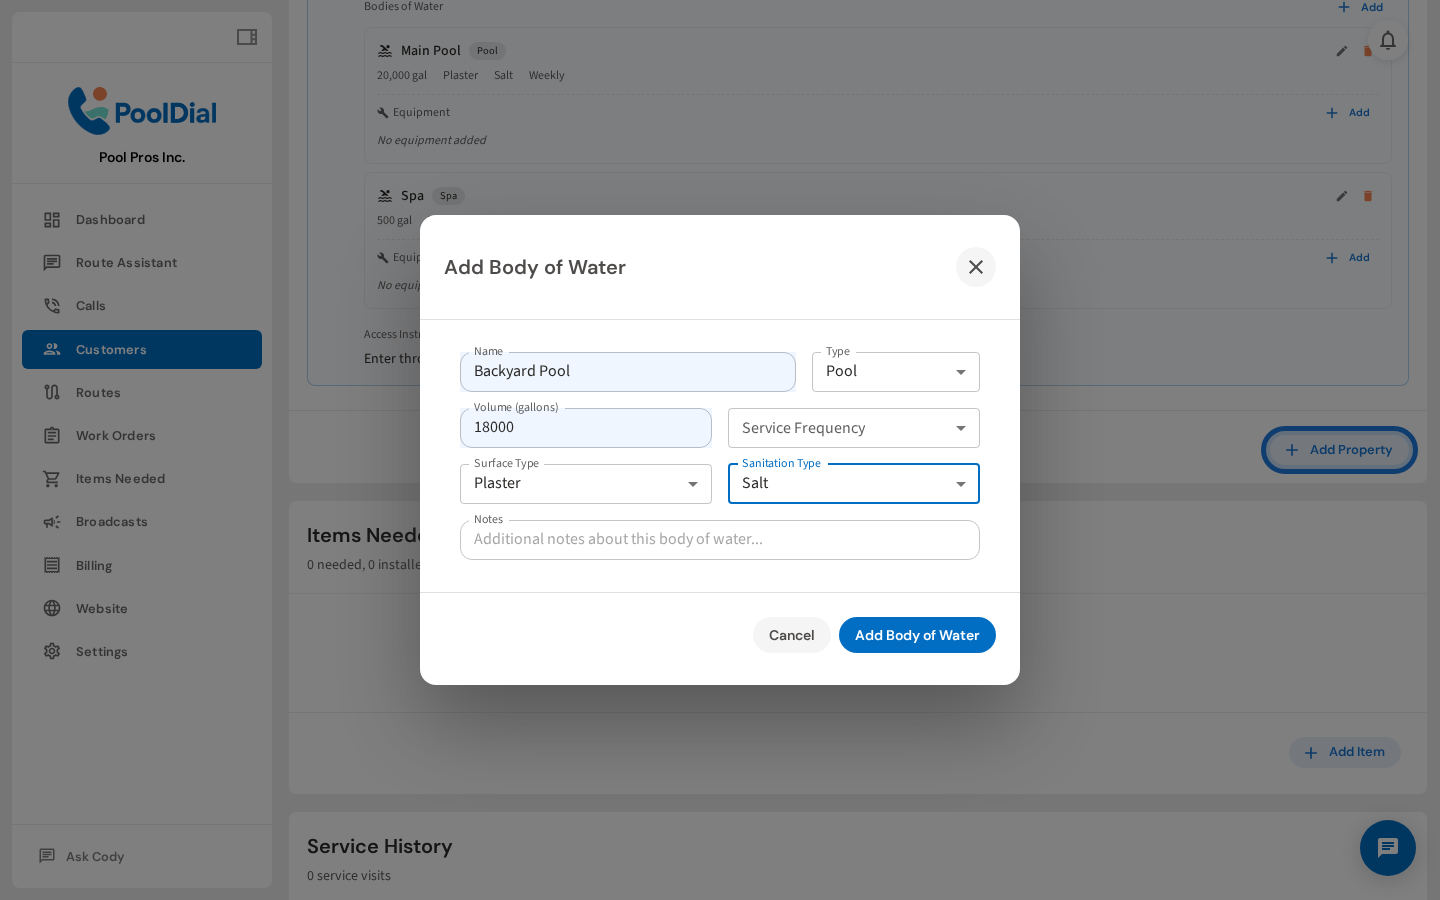
9. Click Add Body of Water
Click Add Body of Water to save the pool. It will appear under the property, ready for chemical tracking and service history.

Not using PoolDial yet?
Manage your customers, routes, billing, and more — all in one place.
Start Free Trial