
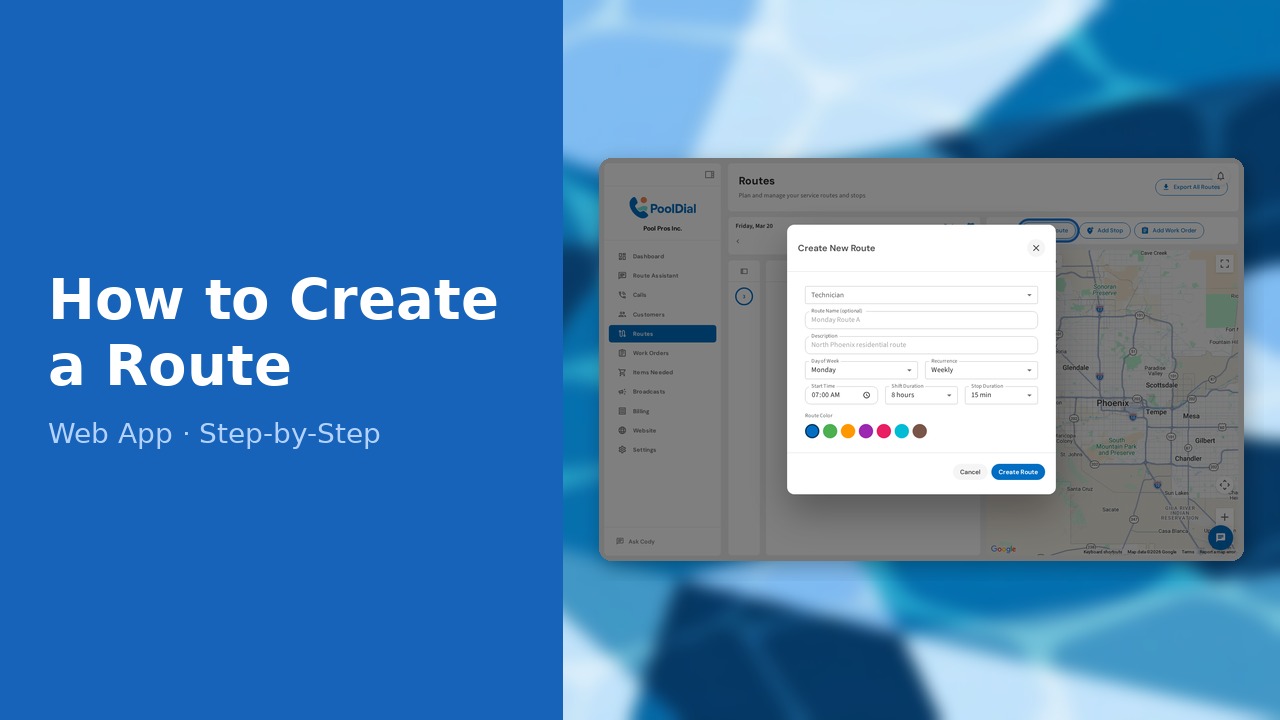
How to Create a Route (Web)

This guide walks you through how to create a route in PoolDial, step by step.
This guide covers 8 steps and takes about a minute to complete.
Video Walkthrough
Prefer to watch? Here's a full video walkthrough of How to Create a Route.
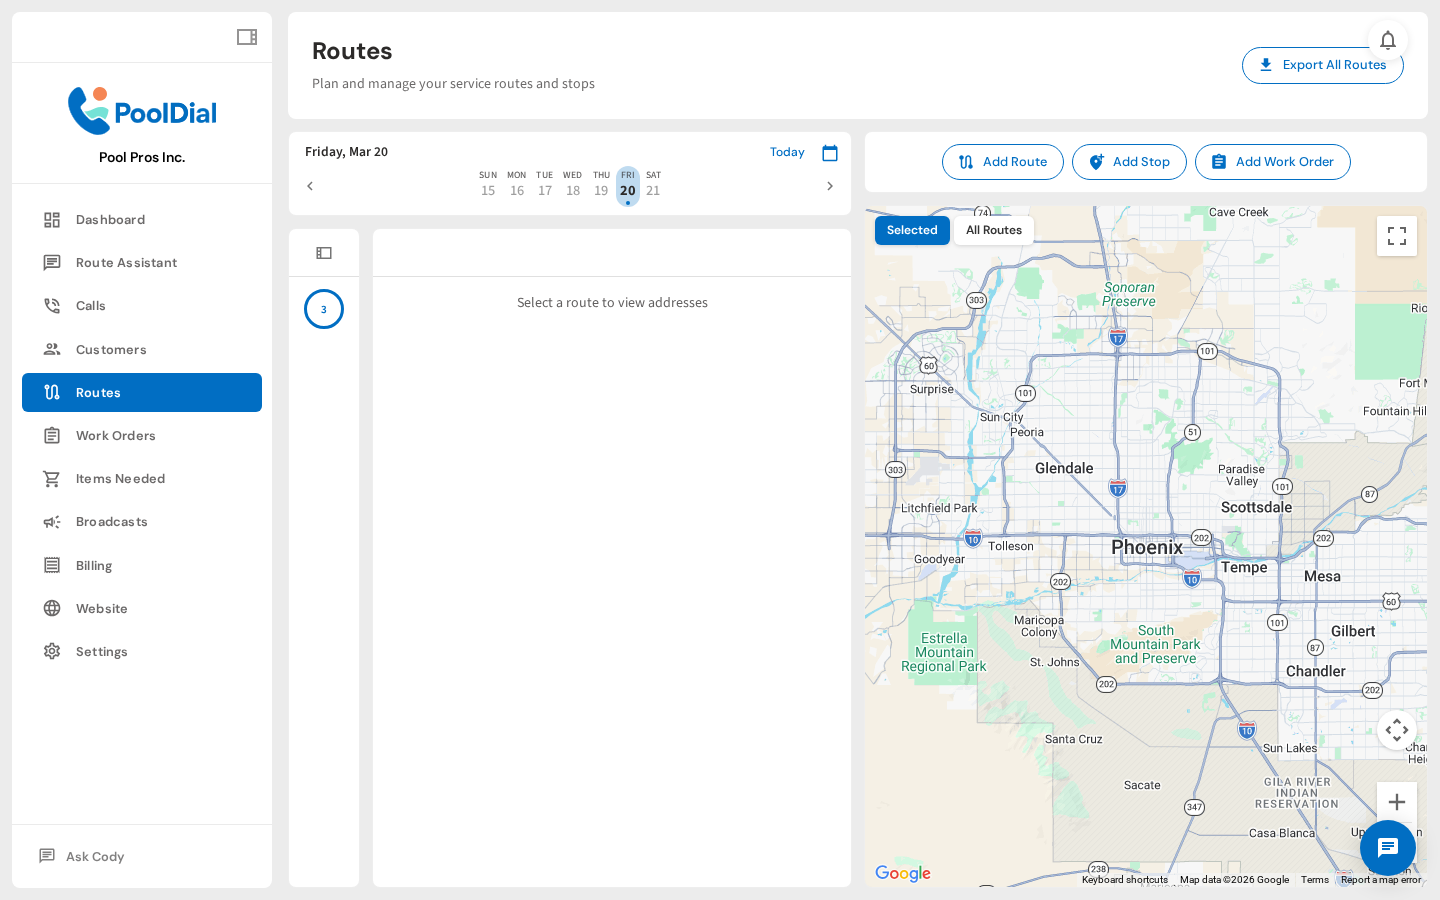
1. Routes weekly calendar
From the left sidebar, click Routes. This shows a weekly calendar where your routes live — each column is a day of the week.
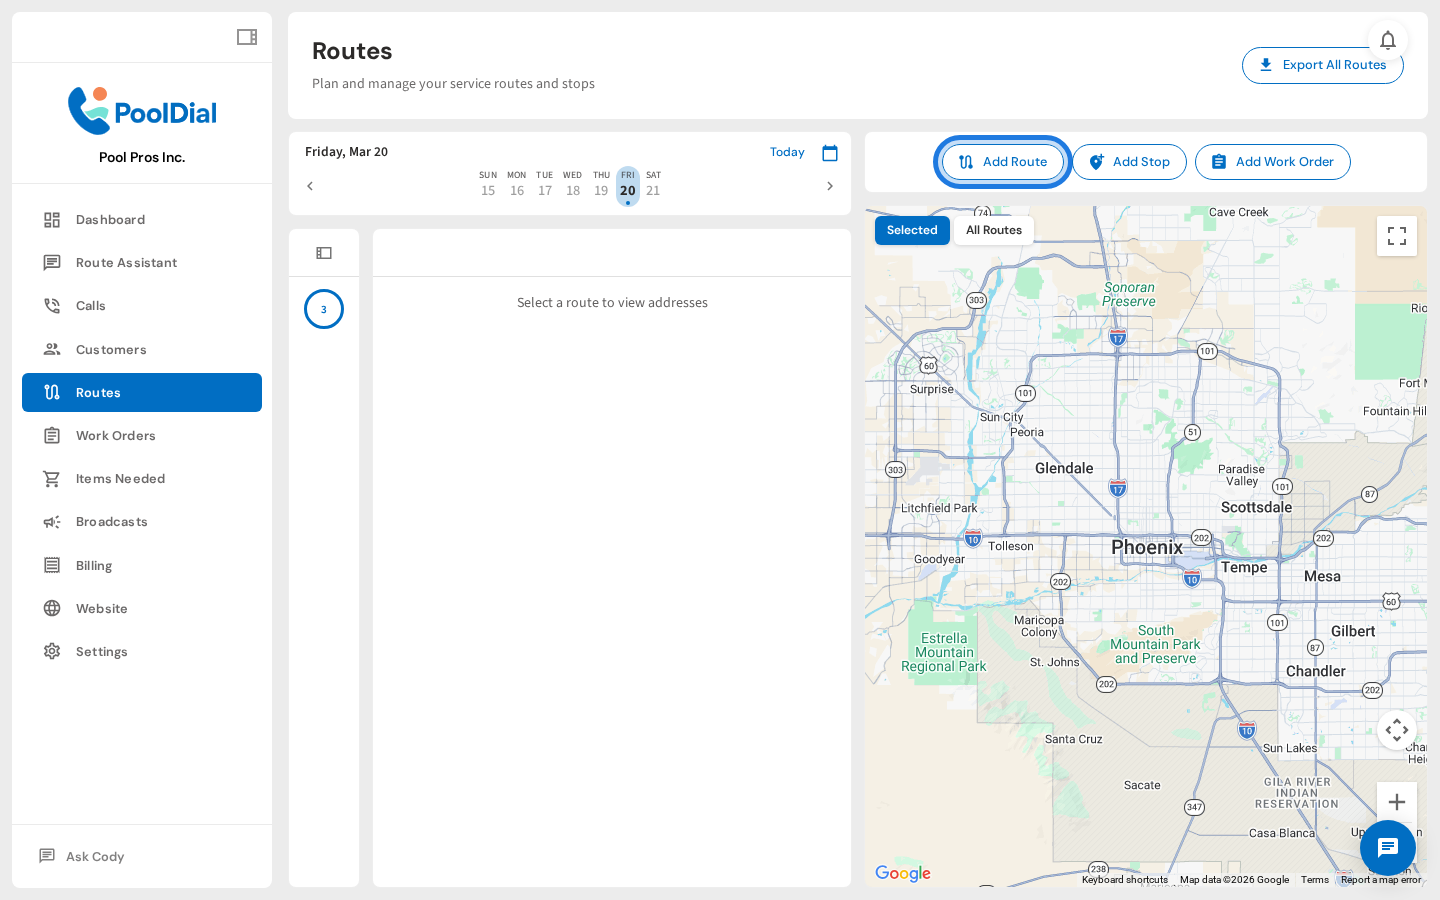
2. Click Add Route
Click Add Route in the top-left toolbar. This opens the route setup form.
3. Create New Route form — empty
The Create New Route form opens. Fill in the fields below — the only required one is the day of week, but the more detail you add, the better PoolDial can track and schedule your team.
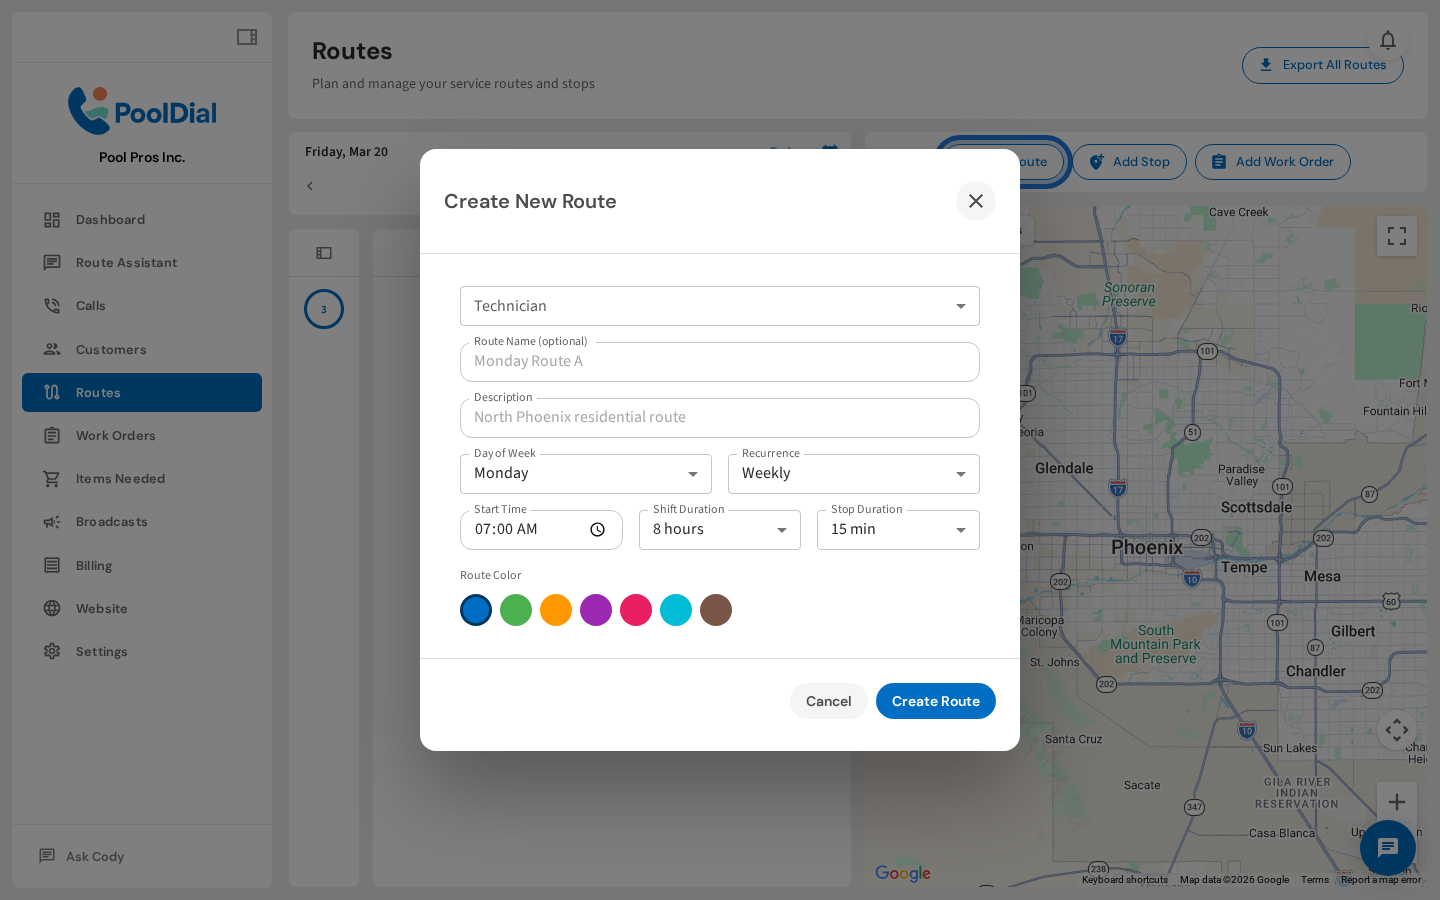
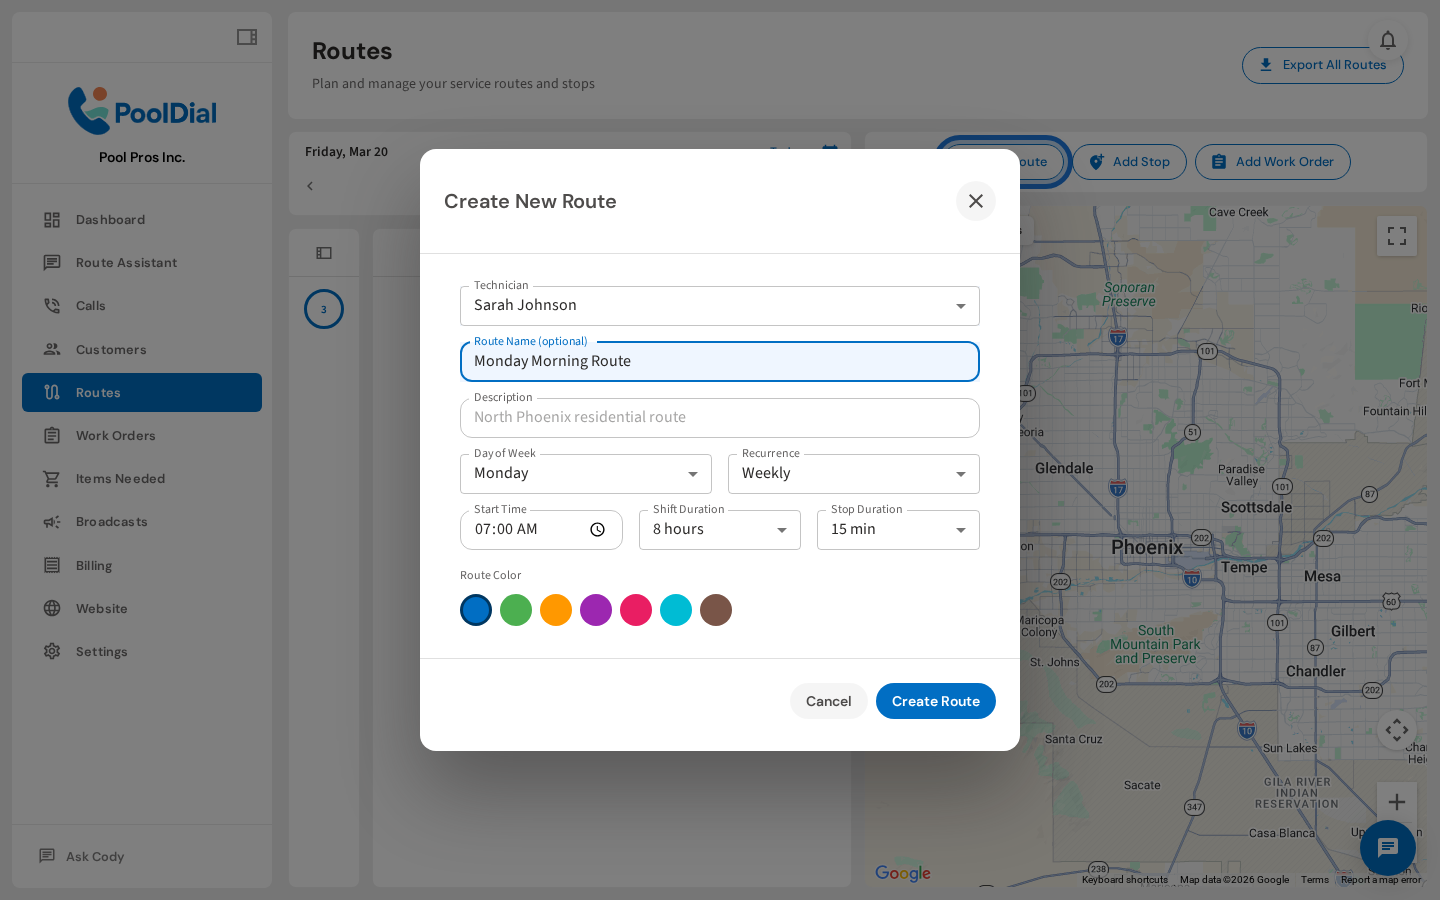
4. Set technician and route name
Select the technician who'll run this route, then give it a name. If you leave the name blank, PoolDial will auto-name it based on the day and technician.
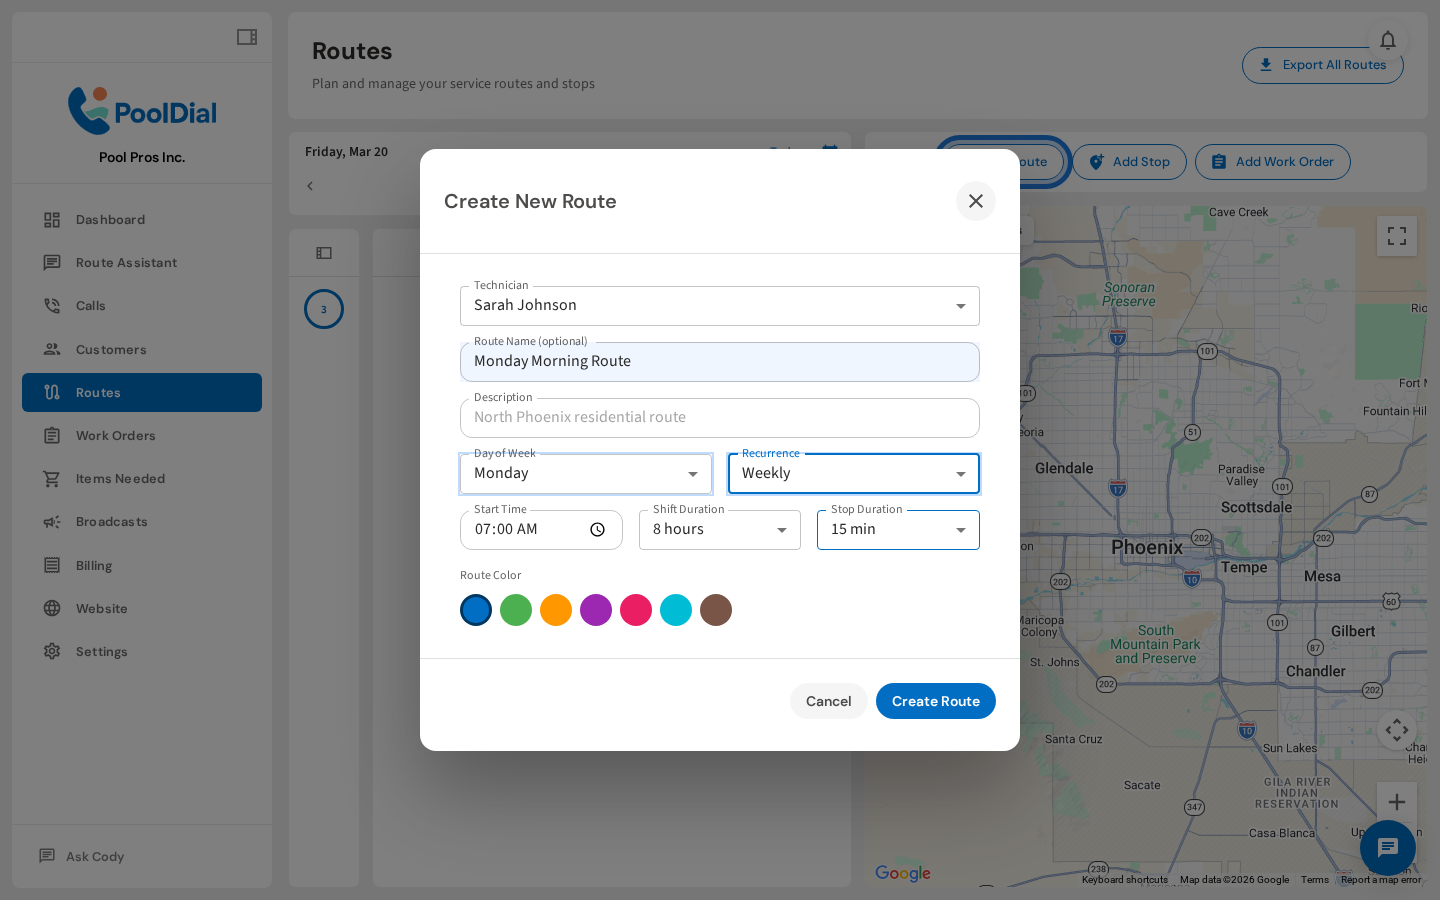
5. Set day of week and recurrence
Choose the day of week and how often this route repeats. Most routes are weekly — but you can also set biweekly, monthly, or one-time routes.
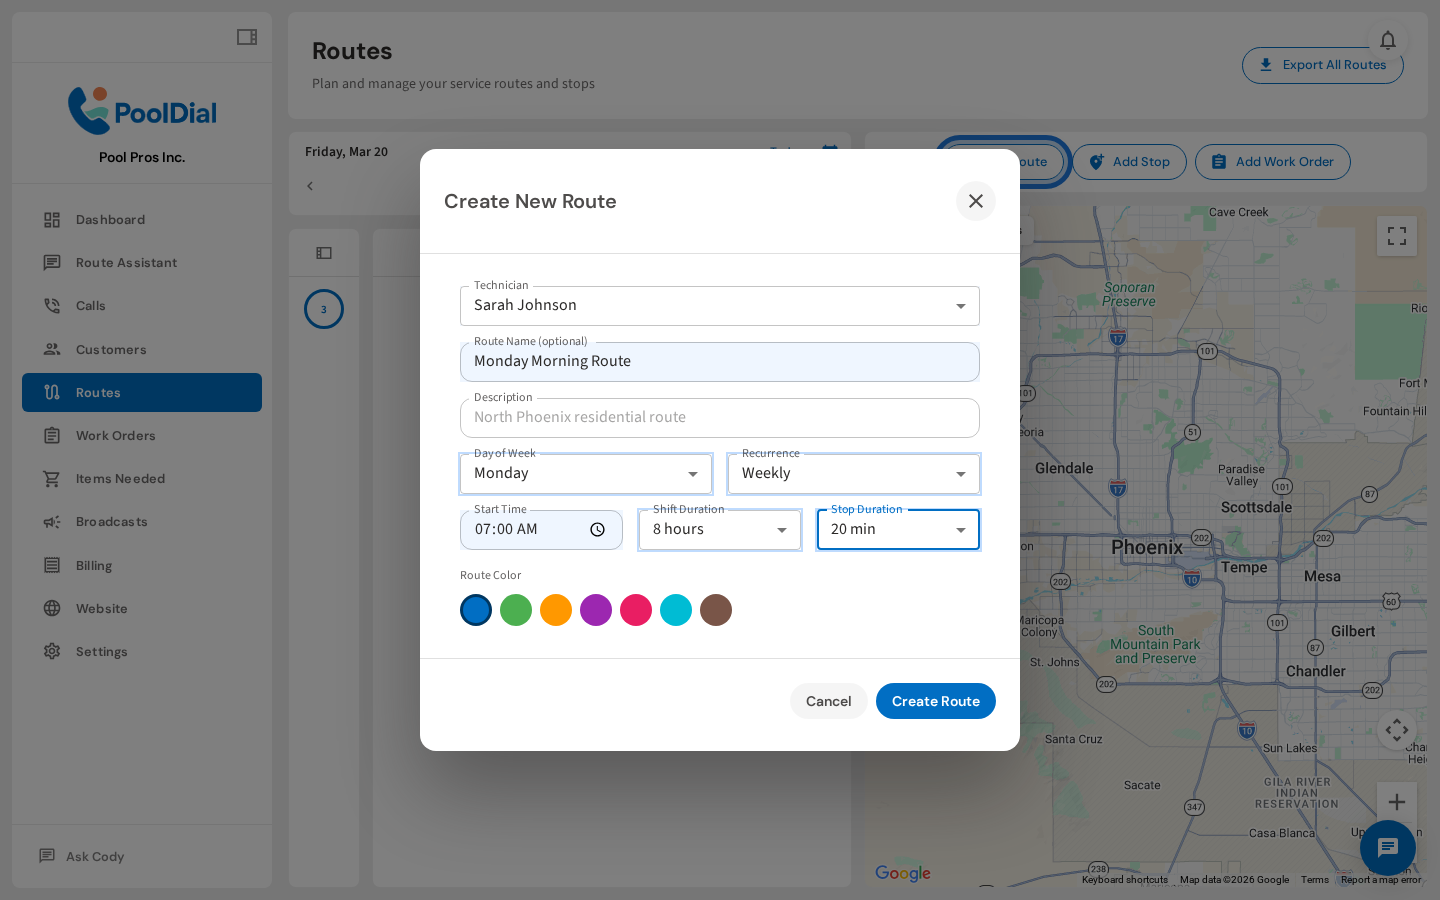
6. Set start time, shift duration, and stop duration
Set your crew's start time, shift length, and expected time per stop. PoolDial uses these to estimate route finish times and flag if a route is running long.
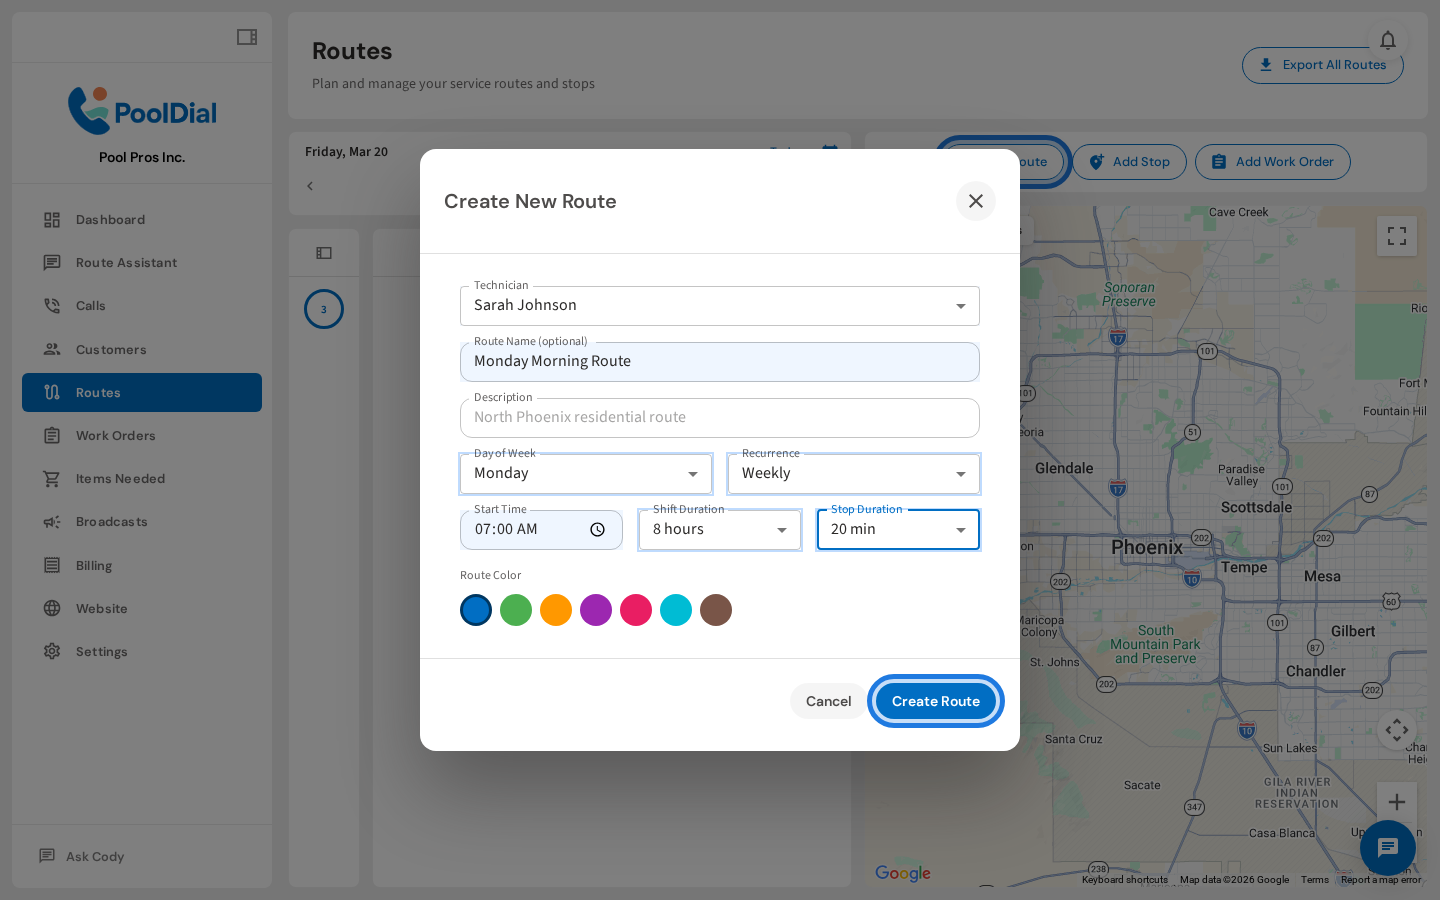
7. Click Create Route to save
Click Create Route to save it. The new route will appear on the calendar for its assigned day — ready to add customer stops.
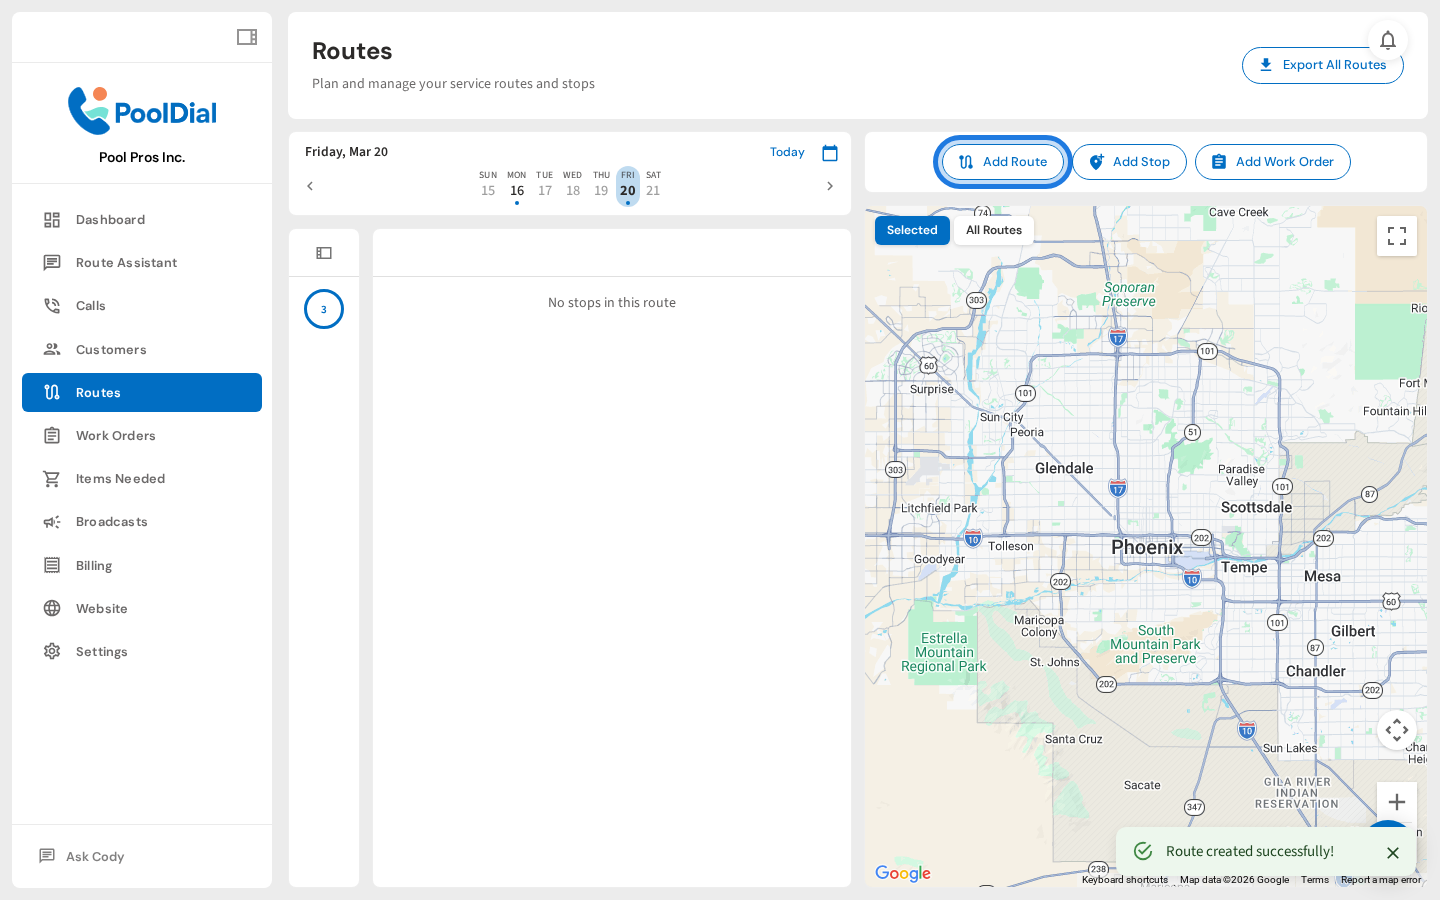
8. New route appears on the calendar
Your new route is now live on the calendar. Click it to open the detail panel on the right, where you can start adding customer stops.
Not using PoolDial yet?
Manage your customers, routes, billing, and more — all in one place.
Start Free Trial