
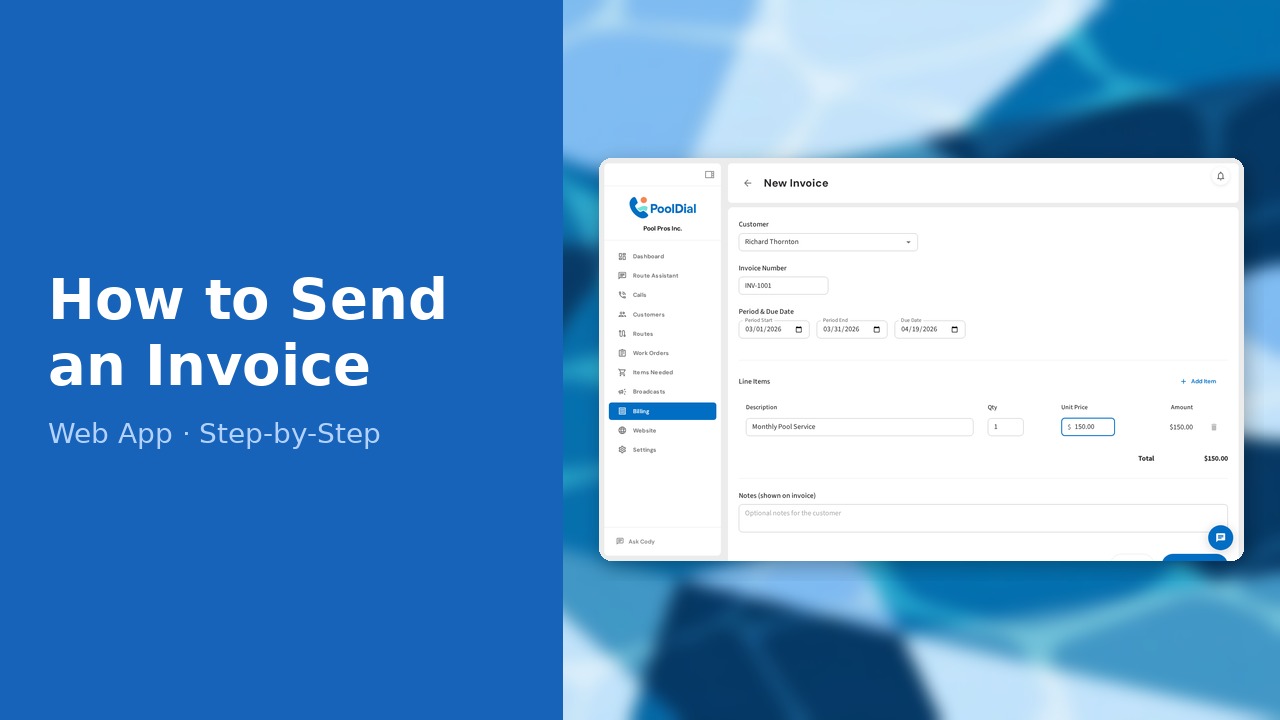
How to Send an Invoice (Web)

This guide walks you through how to send an invoice in PoolDial, step by step.
This guide covers 8 steps and takes about a minute to complete.
Video Walkthrough
Prefer to watch? Here's a full video walkthrough of How to Send an Invoice.
1. Go to the Billing page
Click Billing in the left sidebar to open the billing section.
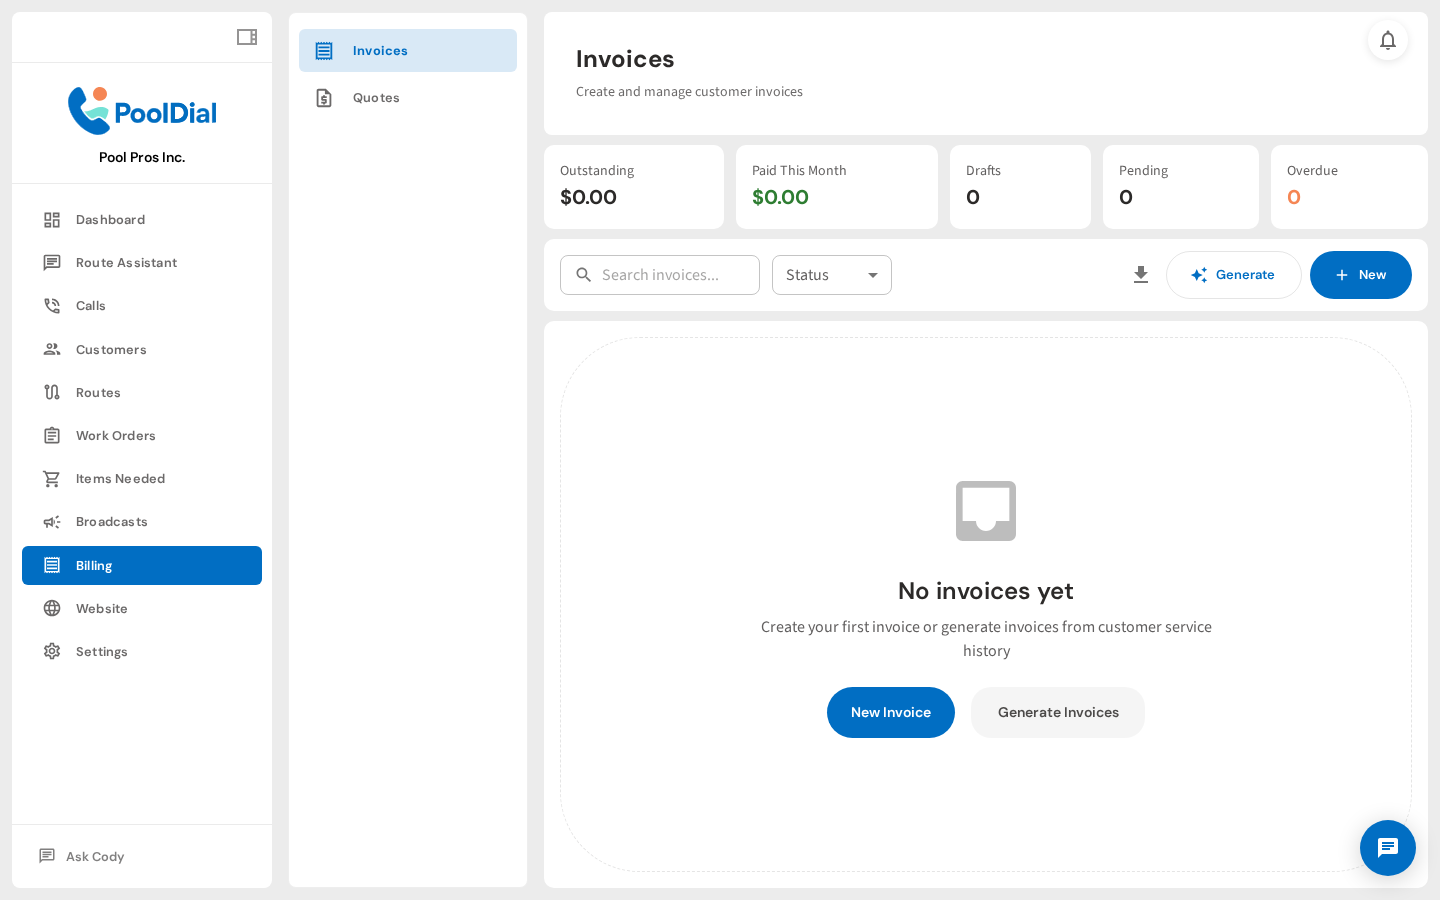
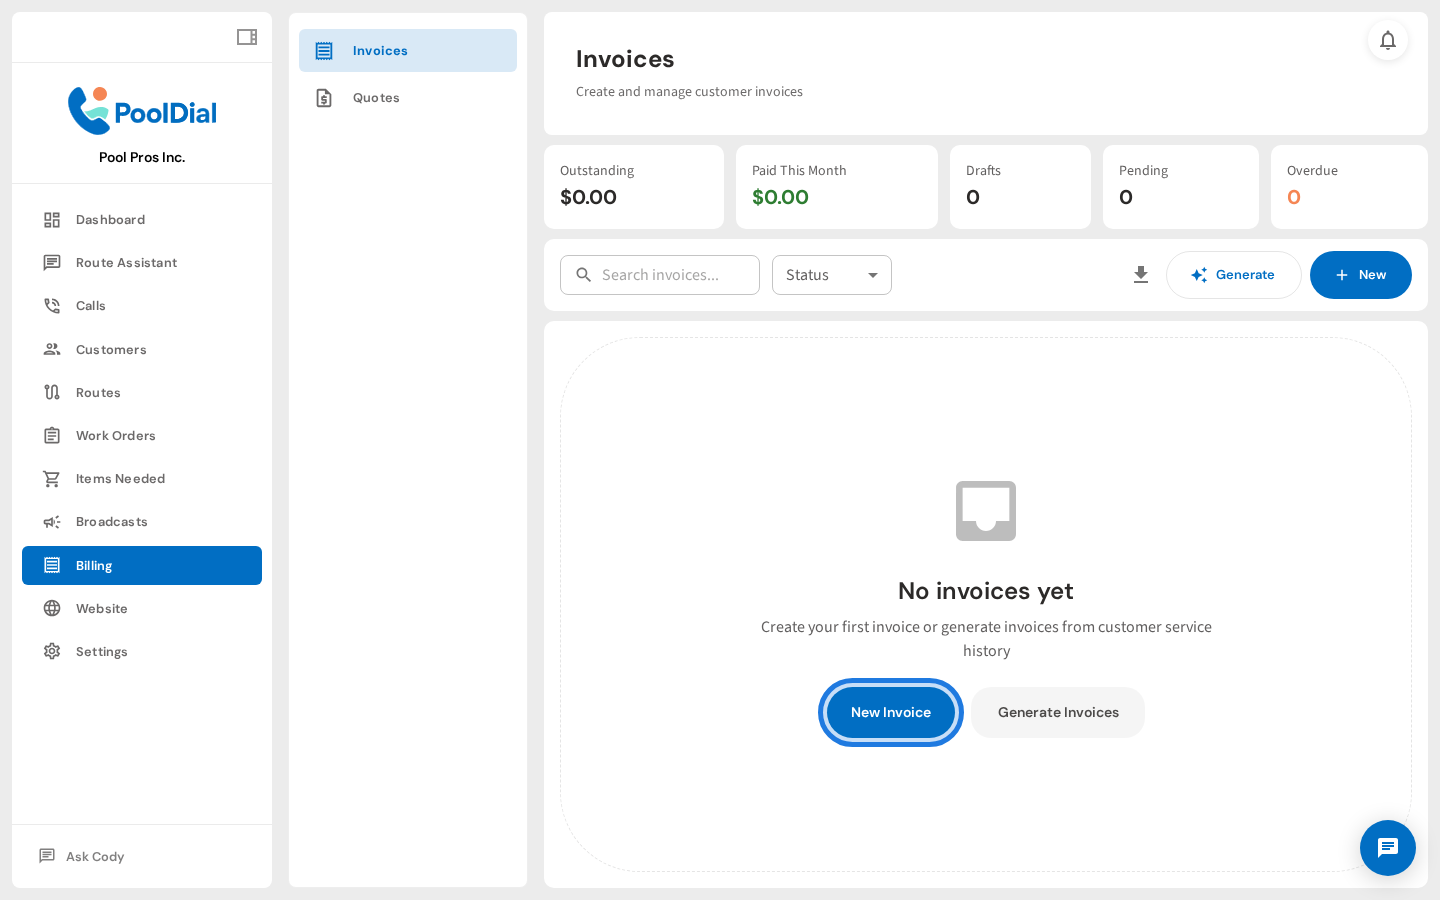
2. Click + New Invoice
Click + New Invoice to open the invoice creation page.
3. Select the customer for this invoice
Select the customer this invoice is for. Start typing to search, or scroll the list.
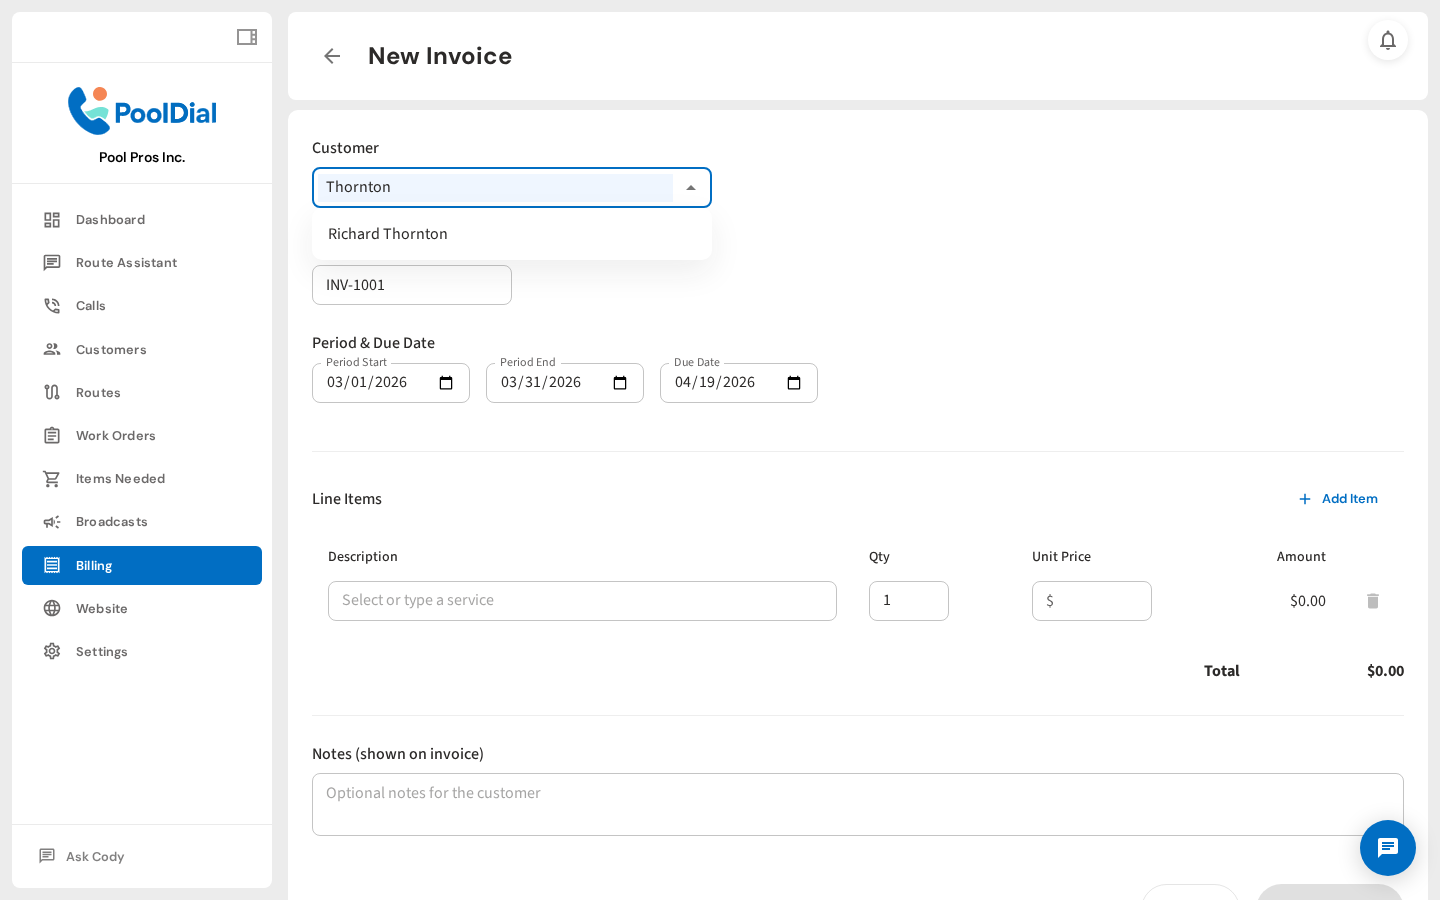
4. Add line items — description, quantity, and price
Add a line item for each service — enter a description, quantity, and unit price. PoolDial auto-suggests descriptions from your past invoices.
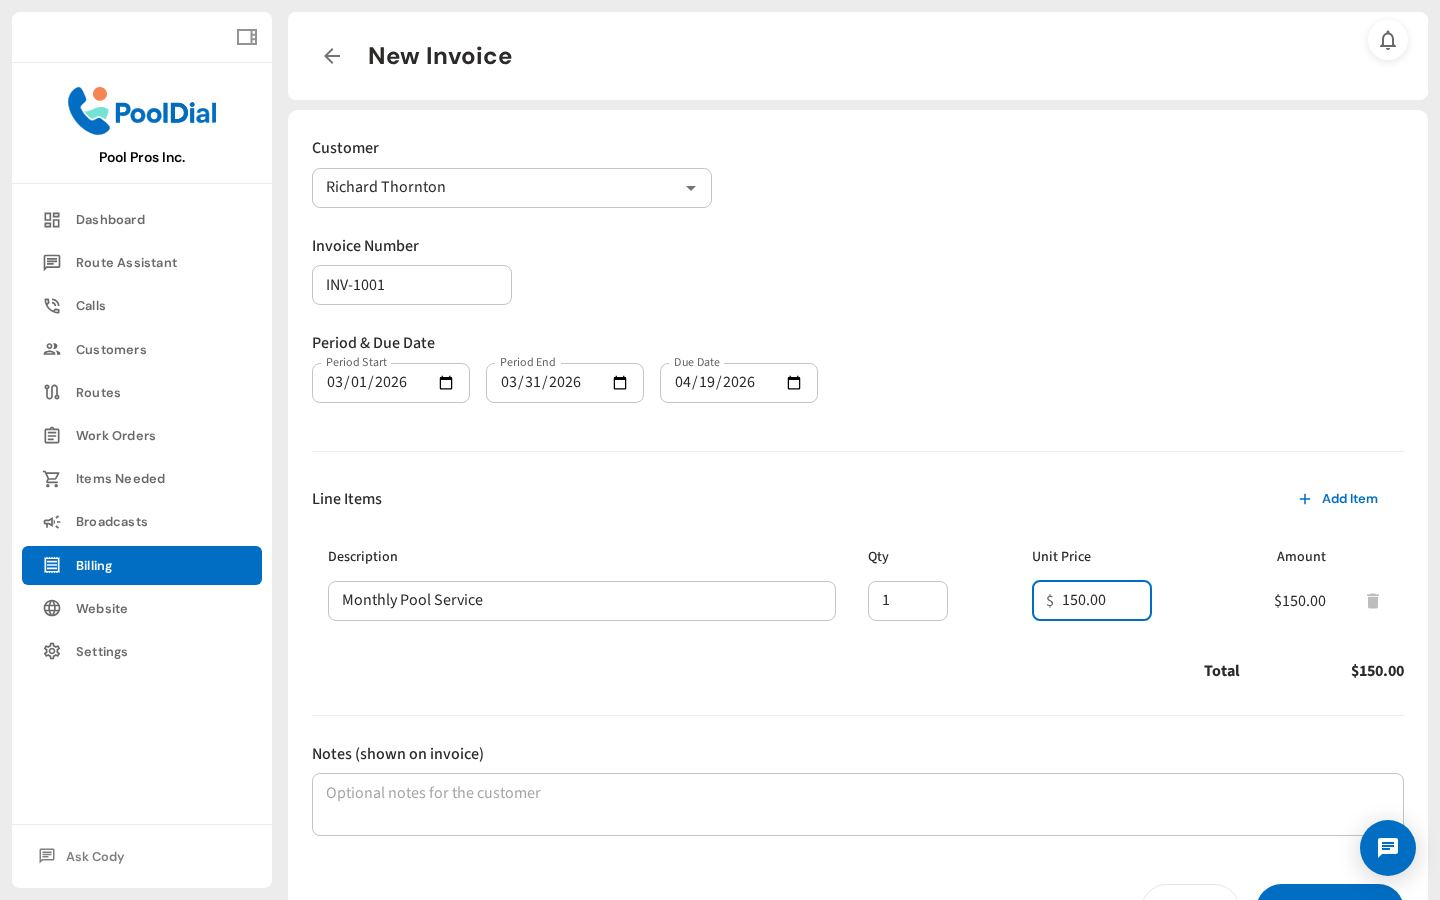
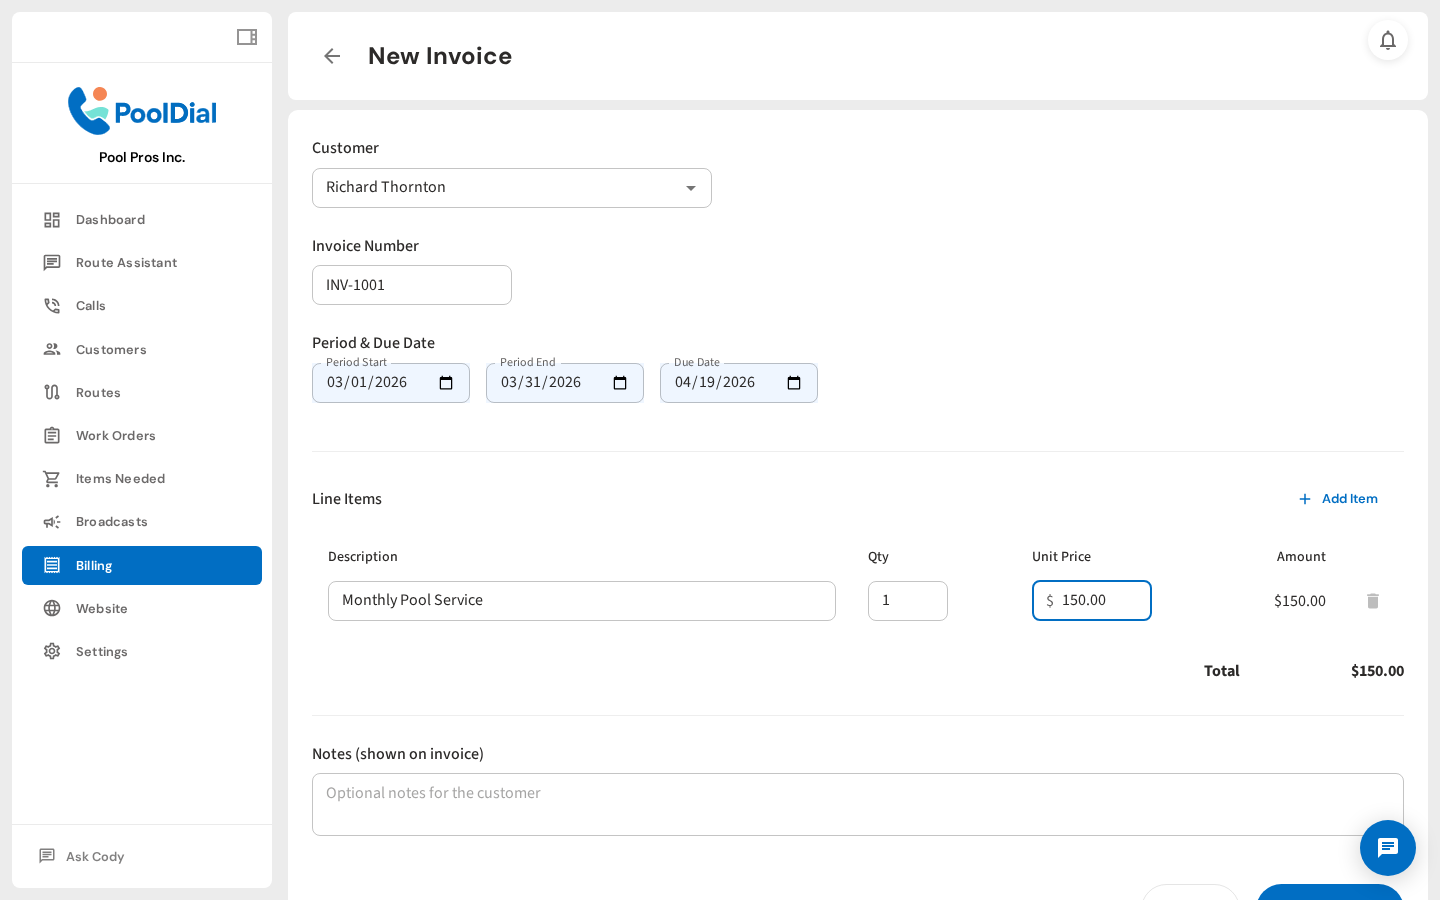
5. Set the service period and due date
Set the service period and due date. The due date defaults to 30 days from today.
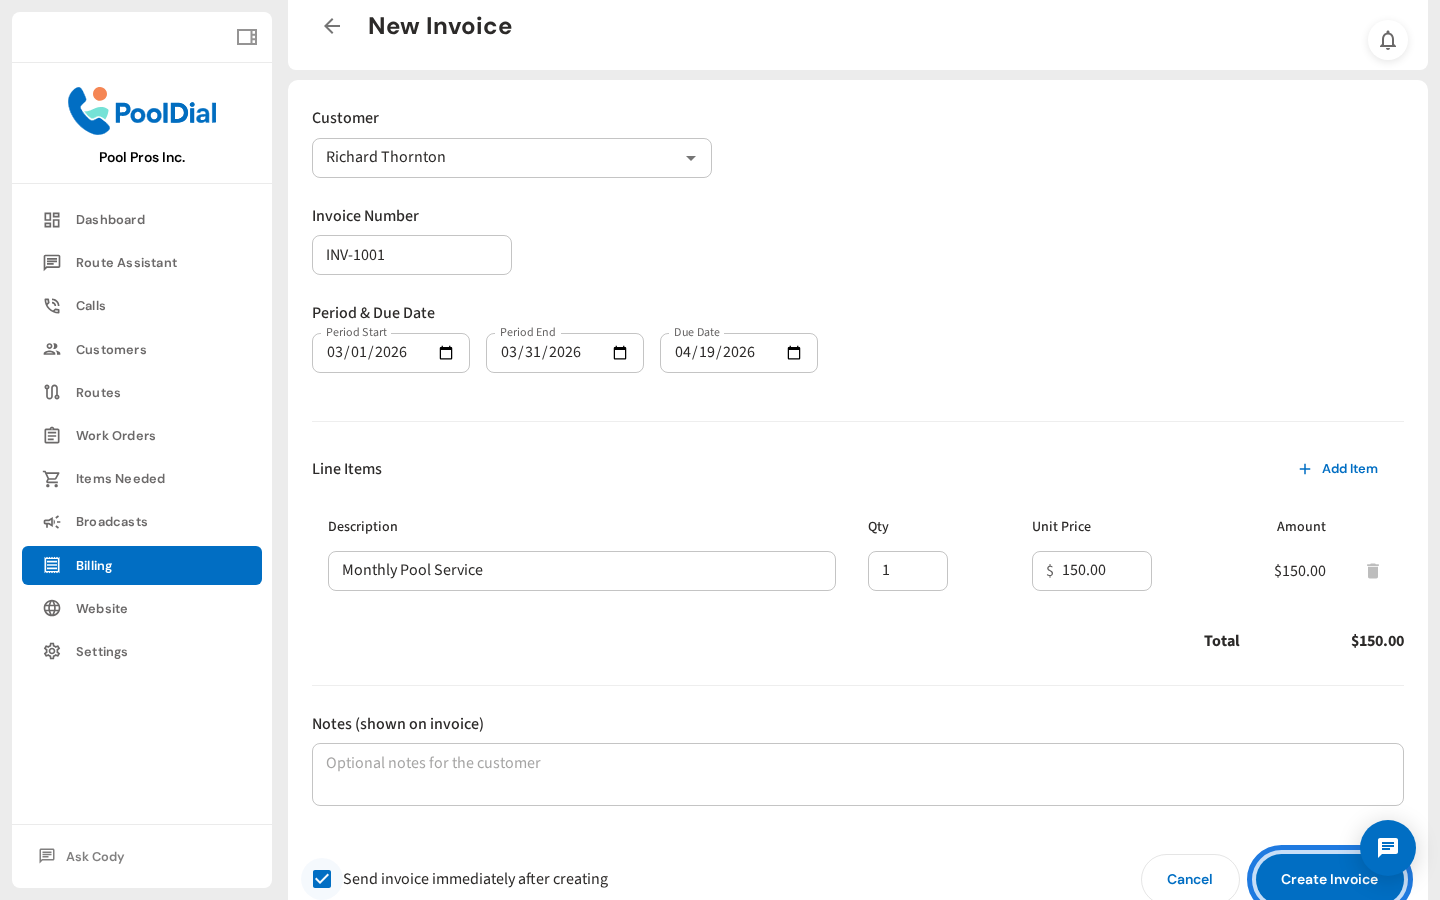
6. Check Send invoice immediately to email it on save
Check Send invoice immediately to email it to the customer as soon as you save. Leave unchecked to save as a draft.

7. Click Create Invoice to save and send
Click Create Invoice. The invoice is saved and, if you checked the box, emailed to the customer automatically.
8. Invoice created — detail page with send and payment options
The invoice detail page shows the full invoice and lets you send, void, or record a payment.

Not using PoolDial yet?
Manage your customers, routes, billing, and more — all in one place.
Start Free Trial