
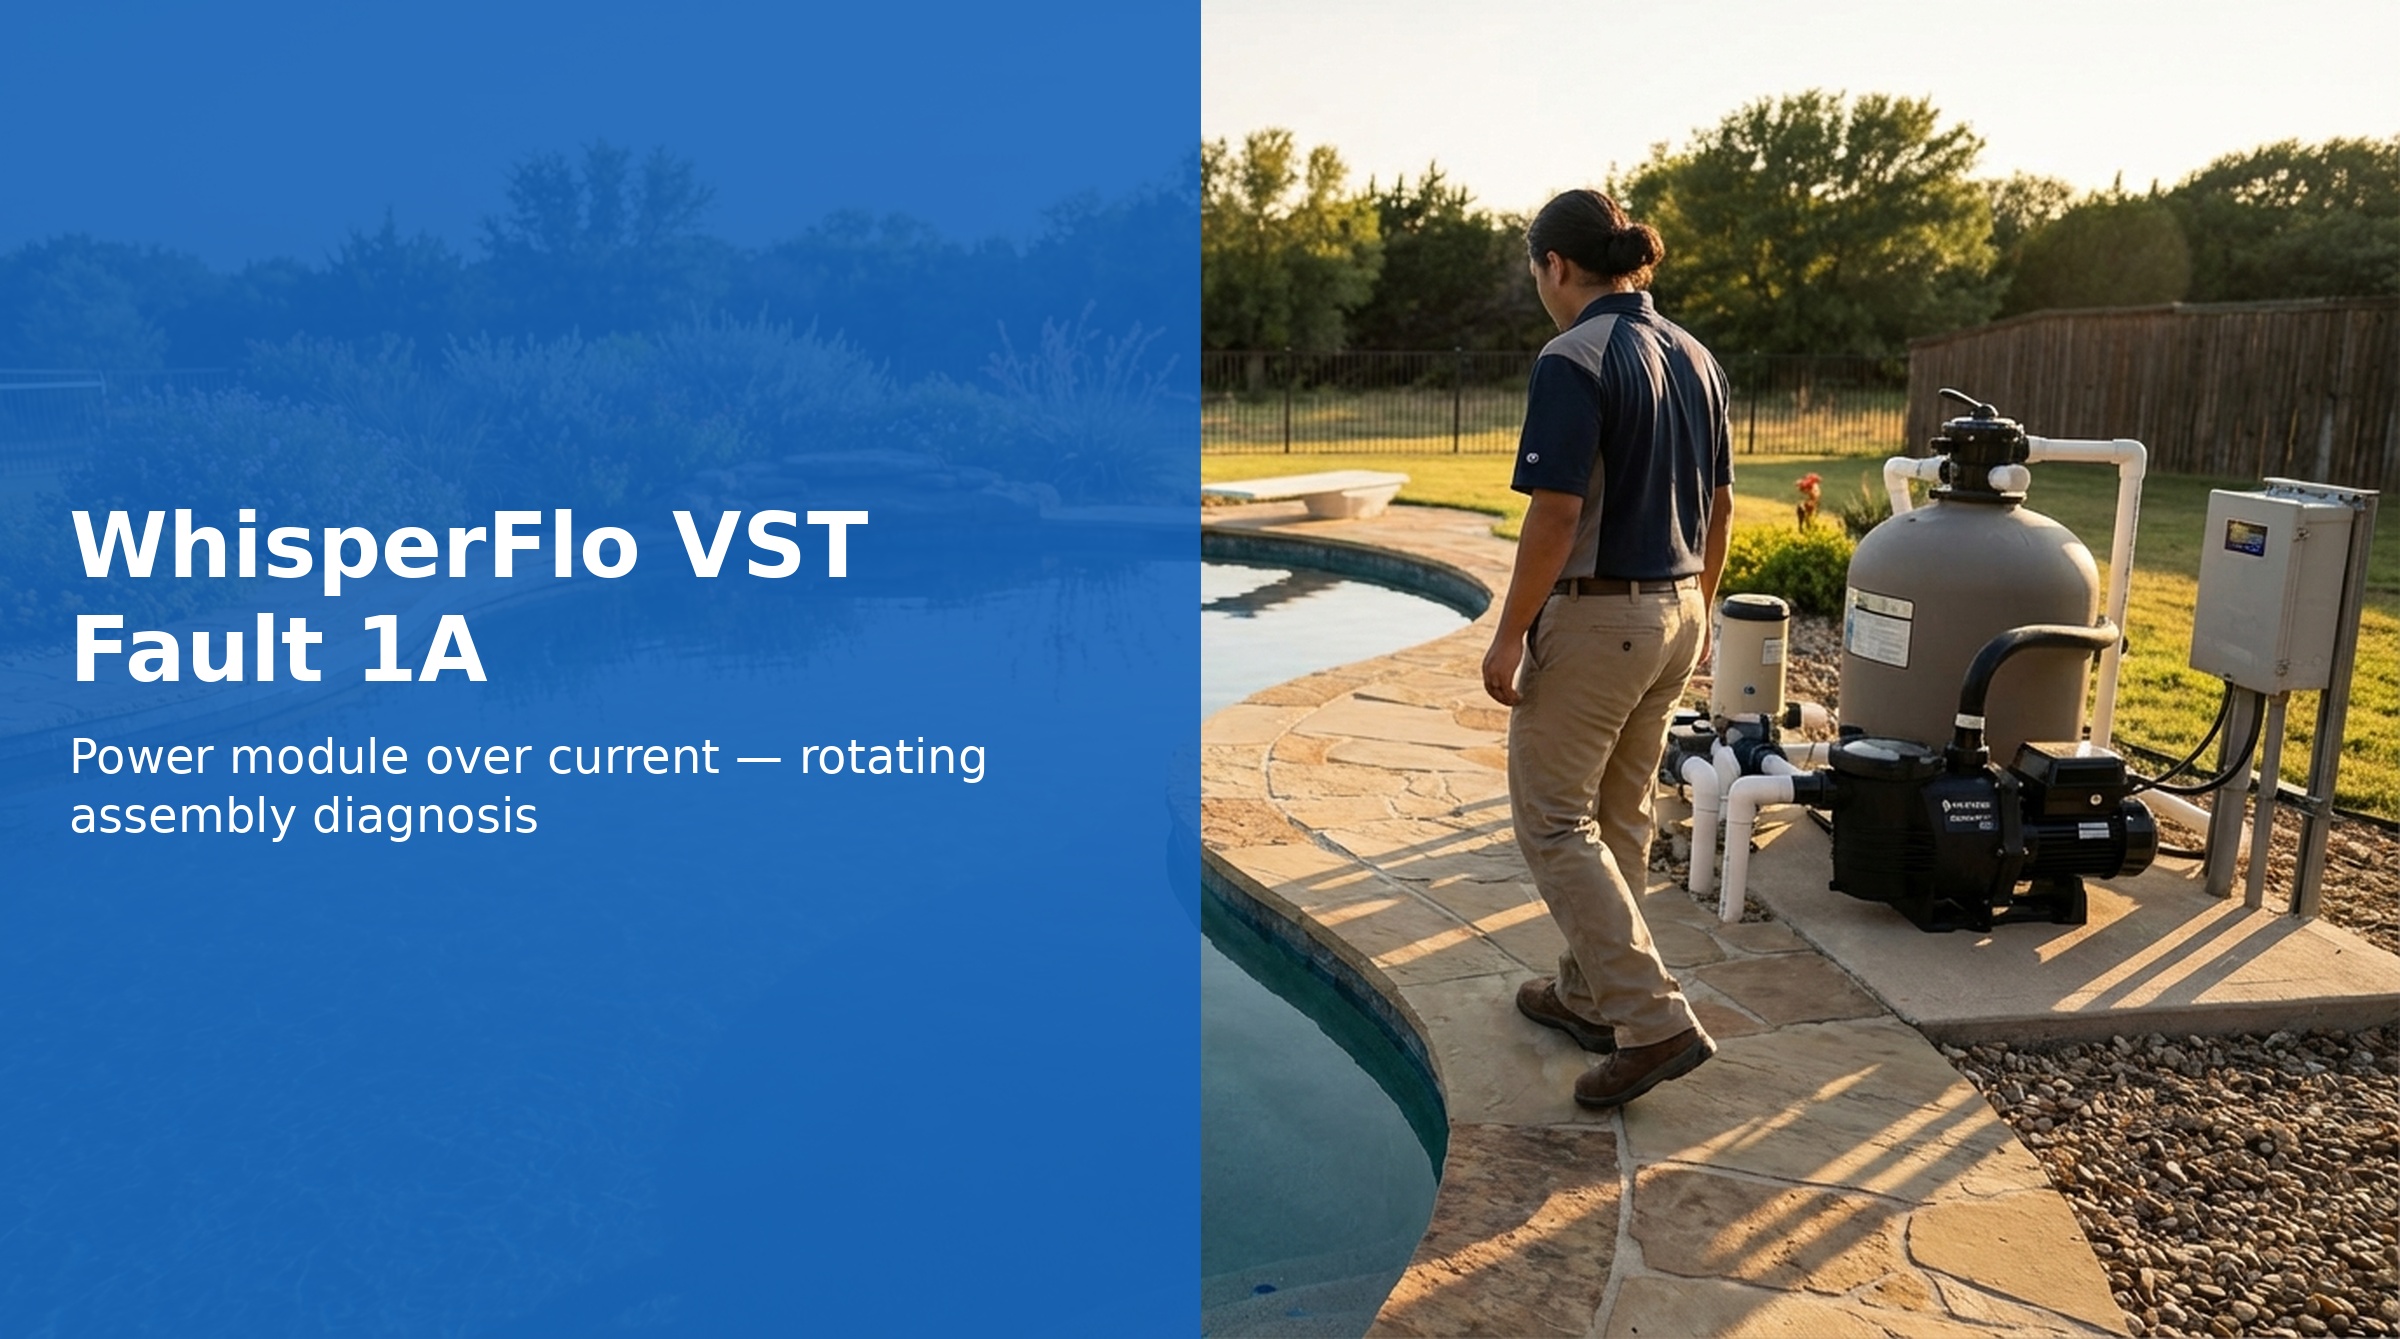
Pentair WhisperFlo VST Fault 1A — Power Module Over Current

Pentair WhisperFlo VST TroubleshooterInteractive diagnostic wizard
Pentair WhisperFlo VST SpecsParts, error codes & pricing
Fault 1A on the WhisperFlo VST indicates the power module detected excessive current draw. If this fault appears only once, a power cycle may clear it. If it appears repeatedly, there is likely a mechanical problem with the pump's rotating assembly.
Note: The manual also references fault code 02 (Absolute Phase Current Limit Exceeded) in the context of rotating assembly issues. Both 1A and 02 can appear when impeller or shaft seal problems cause the motor to draw excessive current. See the Temperature & Internal Faults guide if fault 02 appears in isolation.
What Causes Fault 1A?
Mechanical Obstruction (Most Common — Recurring Fault)
- Debris in impeller: Leaves, hair, or scale buildup restricting rotation
- Seized impeller: Impeller won't rotate freely
- Damaged shaft seal: Seal failure creating drag on shaft
- Worn bearings: Excessive friction in motor bearings
Electrical Issues
- Low supply voltage causing higher current draw
- Loose or corroded power connections
- Undersized wire gauge for the run length
One-Time Events
- Startup surge on a cold motor
- Power fluctuation from utility
Troubleshooting Steps
Step 1: Power Cycle
- Turn off breaker
- Wait for all keypad LEDs to turn off
- Turn breaker back on and restart
- If fault does not return, monitor for recurrence
Step 2: Attempt to Free the Impeller
- Turn off breaker — wait for LEDs to go out
- Locate the fan cover at the rear of the motor
- Insert a hex-key through the fan cover opening to reach the motor shaft
- Gently attempt to rotate the shaft to break up any impeller blockage
- If the shaft rotates freely after this, power the pump back on and test
- If the shaft remains seized, proceed to disassembly
Step 3: Disassemble and Clean Impeller
- Turn off power at breaker and verify LEDs are out
- Remove drain plugs and drain pump
- Separate the pump halves (volute from rear sub-assembly)
- Remove the diffuser
- Remove the impeller (note impeller thread direction per your manual)
- Clean debris from impeller and volute
- Inspect impeller for cracks or damage — replace if damaged (P/N 073130)
- Reassemble in reverse order
Step 4: Inspect Shaft Seal
While disassembled, inspect the shaft seal:
- Check for water leaking from between motor and volute (indicates seal failure)
- Inspect seal faces for scoring or damage
- Replace if damaged — a failed seal can create shaft drag and trigger over current faults
Step 5: Check Supply Voltage
- Measure voltage at motor terminals while running
- Should be within 10% of nominal (115V or 230V depending on installation)
- Low voltage increases current draw — consult an electrician if voltage is consistently low
Replacement Parts
| Part | Part Number |
|---|---|
| Impeller | 073130 |
| Shaft Seal PA-7 | 071734s |
| Shaft Seal — Ozone/Salt Resistant | 071732s |
| Seal Plate Kit (Shaft Seal installed) | 350202 |
| Motor | 356286s |
| Motor/Drive Assembly | 356289s |