
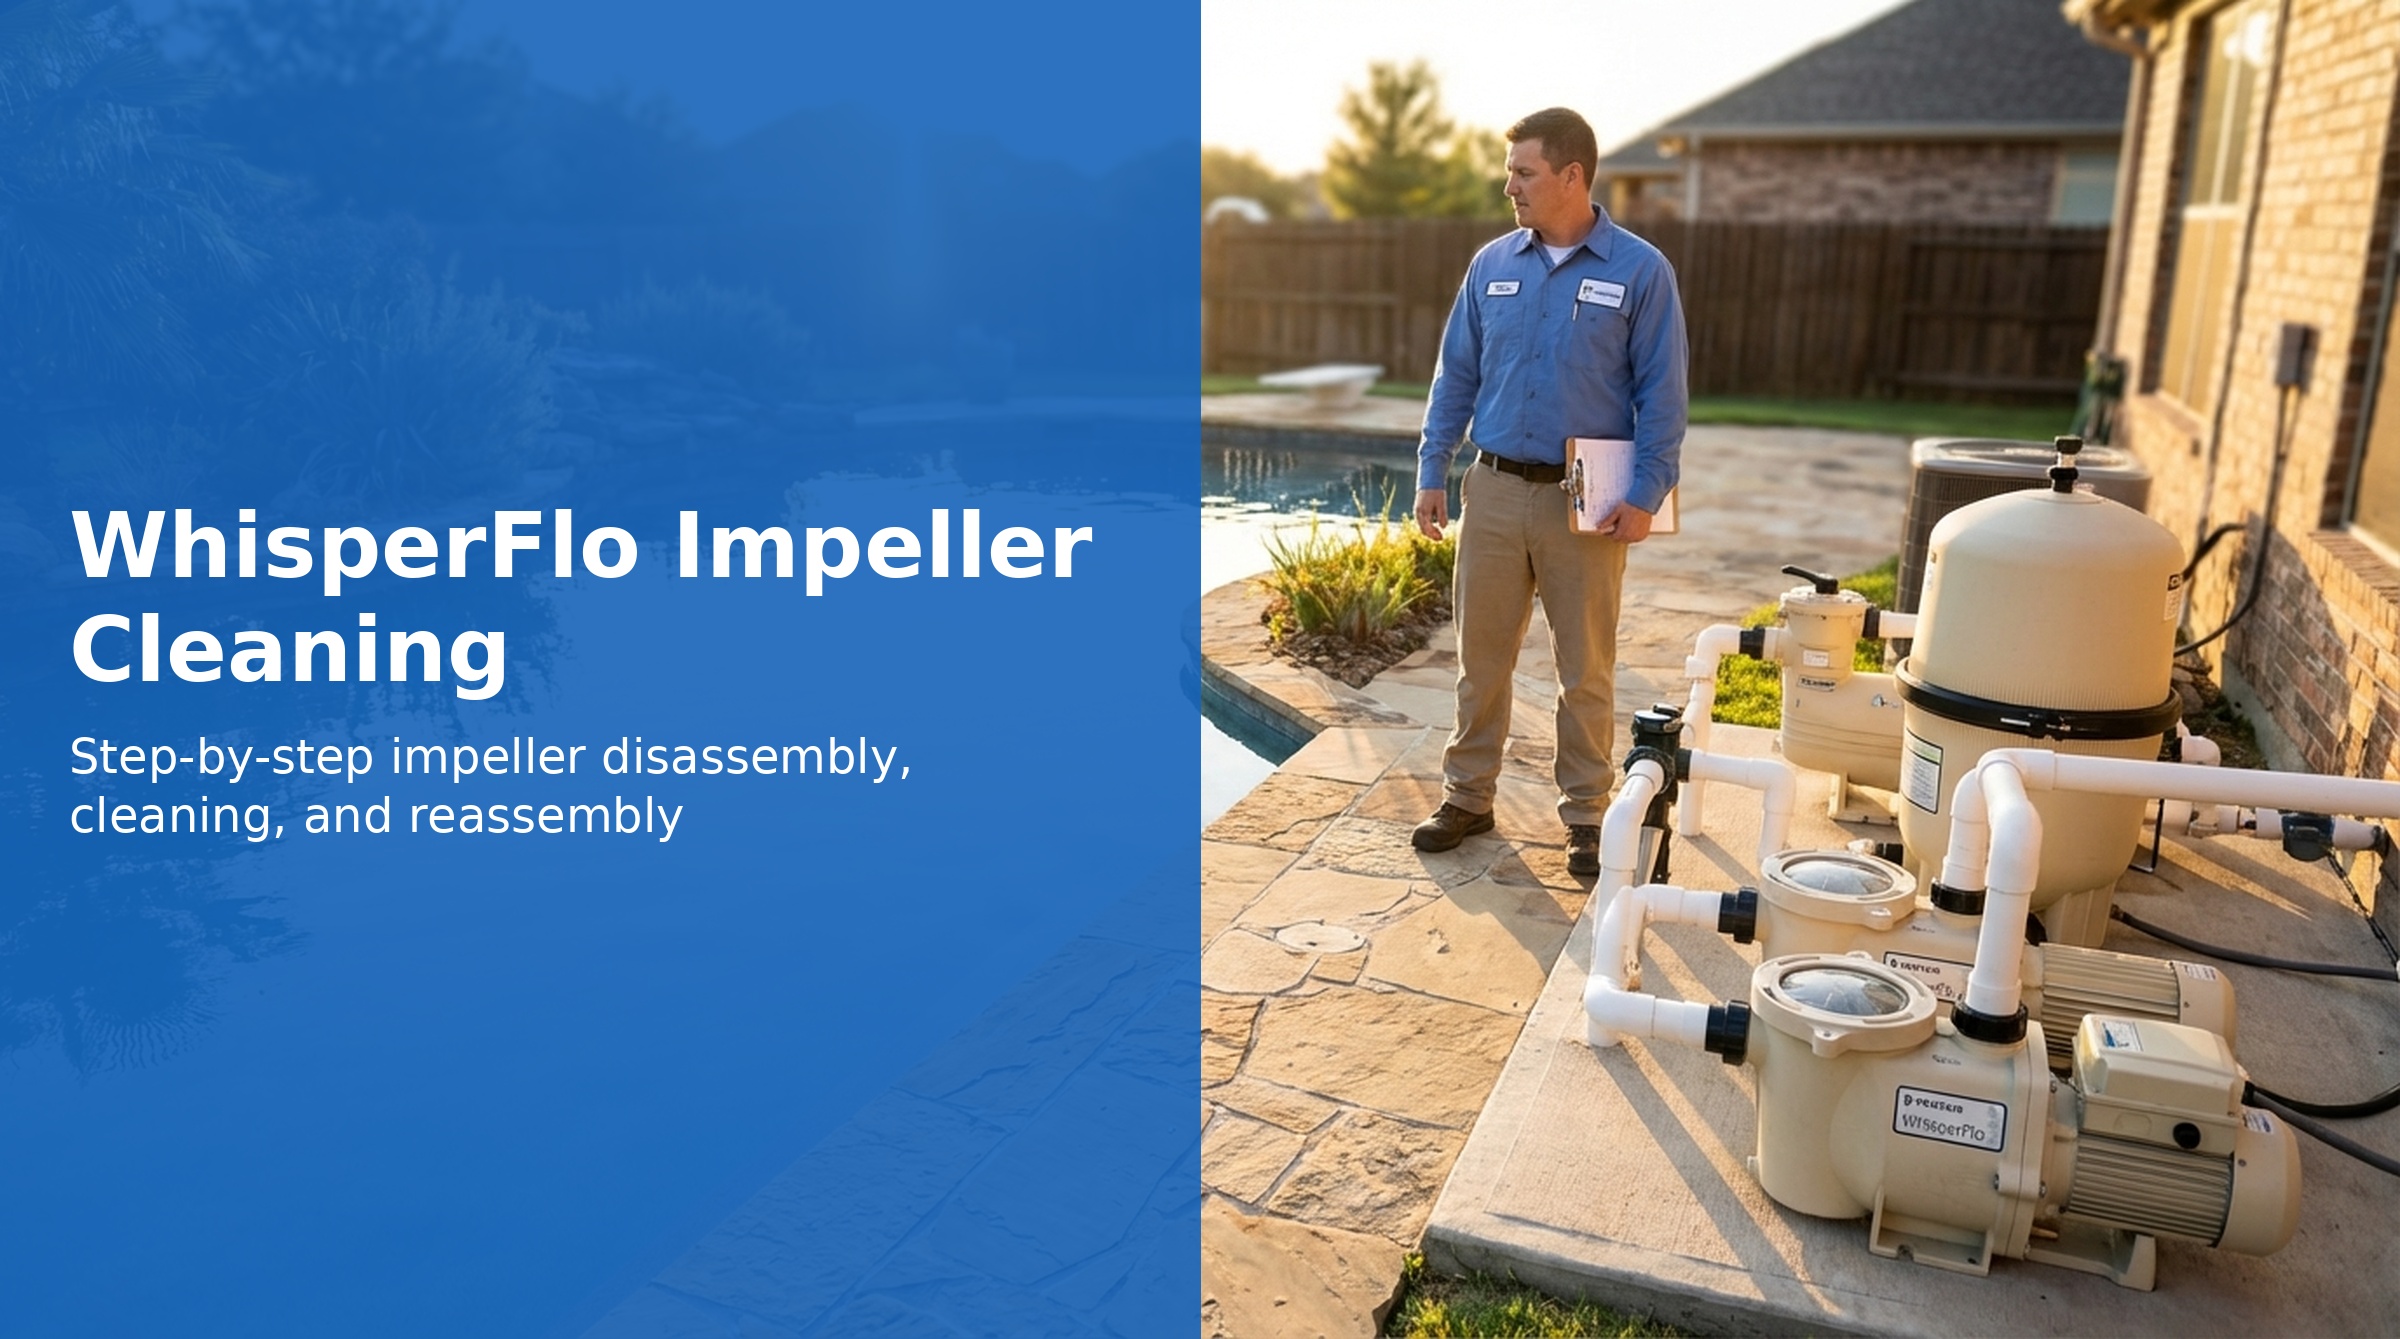
Pentair WhisperFlo Impeller Inspection and Cleaning

Looking for Pentair WhisperFlo specs? See the full specifications, parts list, and error codes.
A clogged or damaged impeller is a common cause of reduced flow on the WhisperFlo. Debris that passes through the strainer basket — hair, leaves, small stones, or scale — can pack into the impeller vanes and significantly restrict circulation.
Cleaning the impeller requires full wet-end disassembly. This guide walks through the complete procedure including impeller removal, mechanical seal inspection, and reassembly with correct torque specifications, following the official Pentair service manual.
Tools Required
- 3/32 inch hex head (Allen) wrench — for diffuser holding screws
- 1/4 inch hex key wrench — for motor shaft
- 9/16 inch open end wrench — for seal plate bolts
- Flat blade screwdriver — for drain plugs
- #2 Phillips screwdriver — for impeller lock screw
Disassembly Procedure
Step 1: Disconnect Power
Turn off the circuit breaker supplying the pump. Confirm the motor is not running before touching any part of the pump. Do not rely on a timer or switch alone — lock out the breaker if possible.
Step 2: Drain the Pump
- Using a flat blade screwdriver, remove the drain plugs from the pump body
- Allow the pump to drain fully
- Set the drain plugs aside — they will be reinstalled during reassembly
Step 3: Remove Strainer Pot
- Remove the lid clamp and lid from the strainer pot
- Remove the strainer basket (P/N 070387)
- Locate the 6 bolts holding the strainer pot to the motor/hydraulic sub-assembly
- Remove all 6 bolts
- Gently pull the two pump halves apart — the strainer pot separates from the motor end
- Set the strainer pot assembly aside
Step 4: Remove the Diffuser
- Using the 3/32 inch hex head wrench, loosen and remove the 2 holding screws on the diffuser
- Remove the diffuser from the pump
- Inspect for cracks or scale buildup — clean as needed
Step 5: Remove the Impeller Lock Screw
- Hold the impeller steady with one hand
- Using a #2 Phillips screwdriver, remove the impeller lock screw
- This screw has a left-hand thread — turn clockwise to loosen
Step 6: Remove the Impeller
- Insert the 1/4 inch hex key wrench into the rear of the motor to engage the shaft and prevent it from spinning
- Unscrew the impeller from the motor shaft
- The impeller also has a left-hand thread — turn clockwise to remove
- Remove the impeller screw and washer (also left-hand thread, loosens clockwise)
- Pull the impeller straight off the shaft
Step 7: Remove the Seal Plate
- Using the 9/16 inch open end wrench, remove the 4 bolts securing the seal plate to the motor
- Remove the seal plate
- The mechanical seal will be visible — inspect it now before proceeding
Inspection
Impeller
- Clear all debris from between the impeller vanes — use water and a brush; do not use metal tools that could score the vanes
- Inspect vanes for cracks, chips, or erosion
- Replace impeller (P/N 073126) if damaged or if vanes are significantly worn
- Verify the bore and thread are undamaged before reinstalling
Mechanical Seal
The mechanical seal prevents water from traveling along the motor shaft into the motor. Inspect it while the pump is disassembled — replacement is much easier now than after reassembly.
- Look for scoring, chips, or visible wear on the seal faces
- Check for evidence of leaking (mineral deposits or corrosion on motor face)
- If the pump ran dry at any point, assume the seal is damaged and replace it
- Two seal types are used — confirm which is installed before ordering: PA-7 w/ceramic seat PS1000 (P/N 071734S) or A7 w/ceramic seat PS201 (P/N 071728)
- The Seal Plate Kit with seal pre-installed (P/N 350202) is also available
Diffuser and Volute
- Clear any debris or scale from the volute interior and diffuser passages
- Inspect for cracks — replace components if cracked
- The Volute & Seal Plate Replacement Kit (P/N 357149) is available if both components need replacement
Reassembly Procedure
Mechanical Seal Installation
If replacing the mechanical seal:
- Apply silicone sealant to the metal portion (outer diameter) of the seal before pressing it into the seal plate
- Keep silicone entirely off the seal face — contamination on the seal face will cause immediate leaking
- Press seal firmly and evenly into the seal plate
- Allow 24 hours for silicone to cure before running the pump
Seal Plate Installation
- Position the seal plate onto the motor face
- Install the 4 bolts finger-tight first
- Tighten bolts in a criss-cross (X) pattern to ensure even seating
- Torque to 70 in-lbs
Impeller Installation
- Thread the impeller onto the motor shaft — left-hand thread, tighten counter-clockwise
- Insert the 1/4 inch hex key into the rear of the motor to hold the shaft while tightening
- Install the impeller lock screw with washer — left-hand thread, tighten counter-clockwise
- Torque the impeller lock screw to 25 in-lbs
Diffuser Installation
- Position diffuser over impeller
- Install the 2 holding screws using the 3/32 inch hex head wrench
- Tighten securely but do not over-torque — diffuser is plastic
Strainer Pot Reassembly
- Align strainer pot with the motor/hydraulic sub-assembly
- Gently push the two halves together
- Install and tighten the 6 bolts evenly
- Reinstall drain plugs using the flat blade screwdriver — do not over-tighten; they are plastic
Priming After Reassembly
- Reinstall strainer basket (P/N 070387) in strainer pot
- Remove lid clamp and lid
- Fill strainer pot completely with water
- Reinstall lid and tighten clamp (P/N 357199)
- Open air release valve on filter and stand clear
- Start the pump
- Close air release valve when water flows out steadily
Replacement Parts Reference
| Part | Part Number |
|---|---|
| Impeller | 073126 (item 28) |
| Shaft Seal PA-7 w/ceramic seat PS1000 | 071734S |
| Shaft Seal A7 w/ceramic seat PS201 | 071728 |
| Seal Plate Kit (shaft seal installed) | 350202 |
| Volute & Seal Plate Replacement Kit | 357149 |
| Fluid End (all items except motor) | 075451 |
| Motor | 356363S |
| Strainer Basket | 070387 |
| O-Ring, Lid | 350013 |
| Lid, Clear | 357151 |
| Lid, Chemical Resistant | 357156 |
| Lid Clamp | 357199 (item 1) |
| Strainer Pot Assembly | 357243 |