
What's Included in a Pool Service Visit?

You pay for weekly pool service. But do you know what actually happens during each visit? And if you are the pool pro, are you doing everything your customers expect?
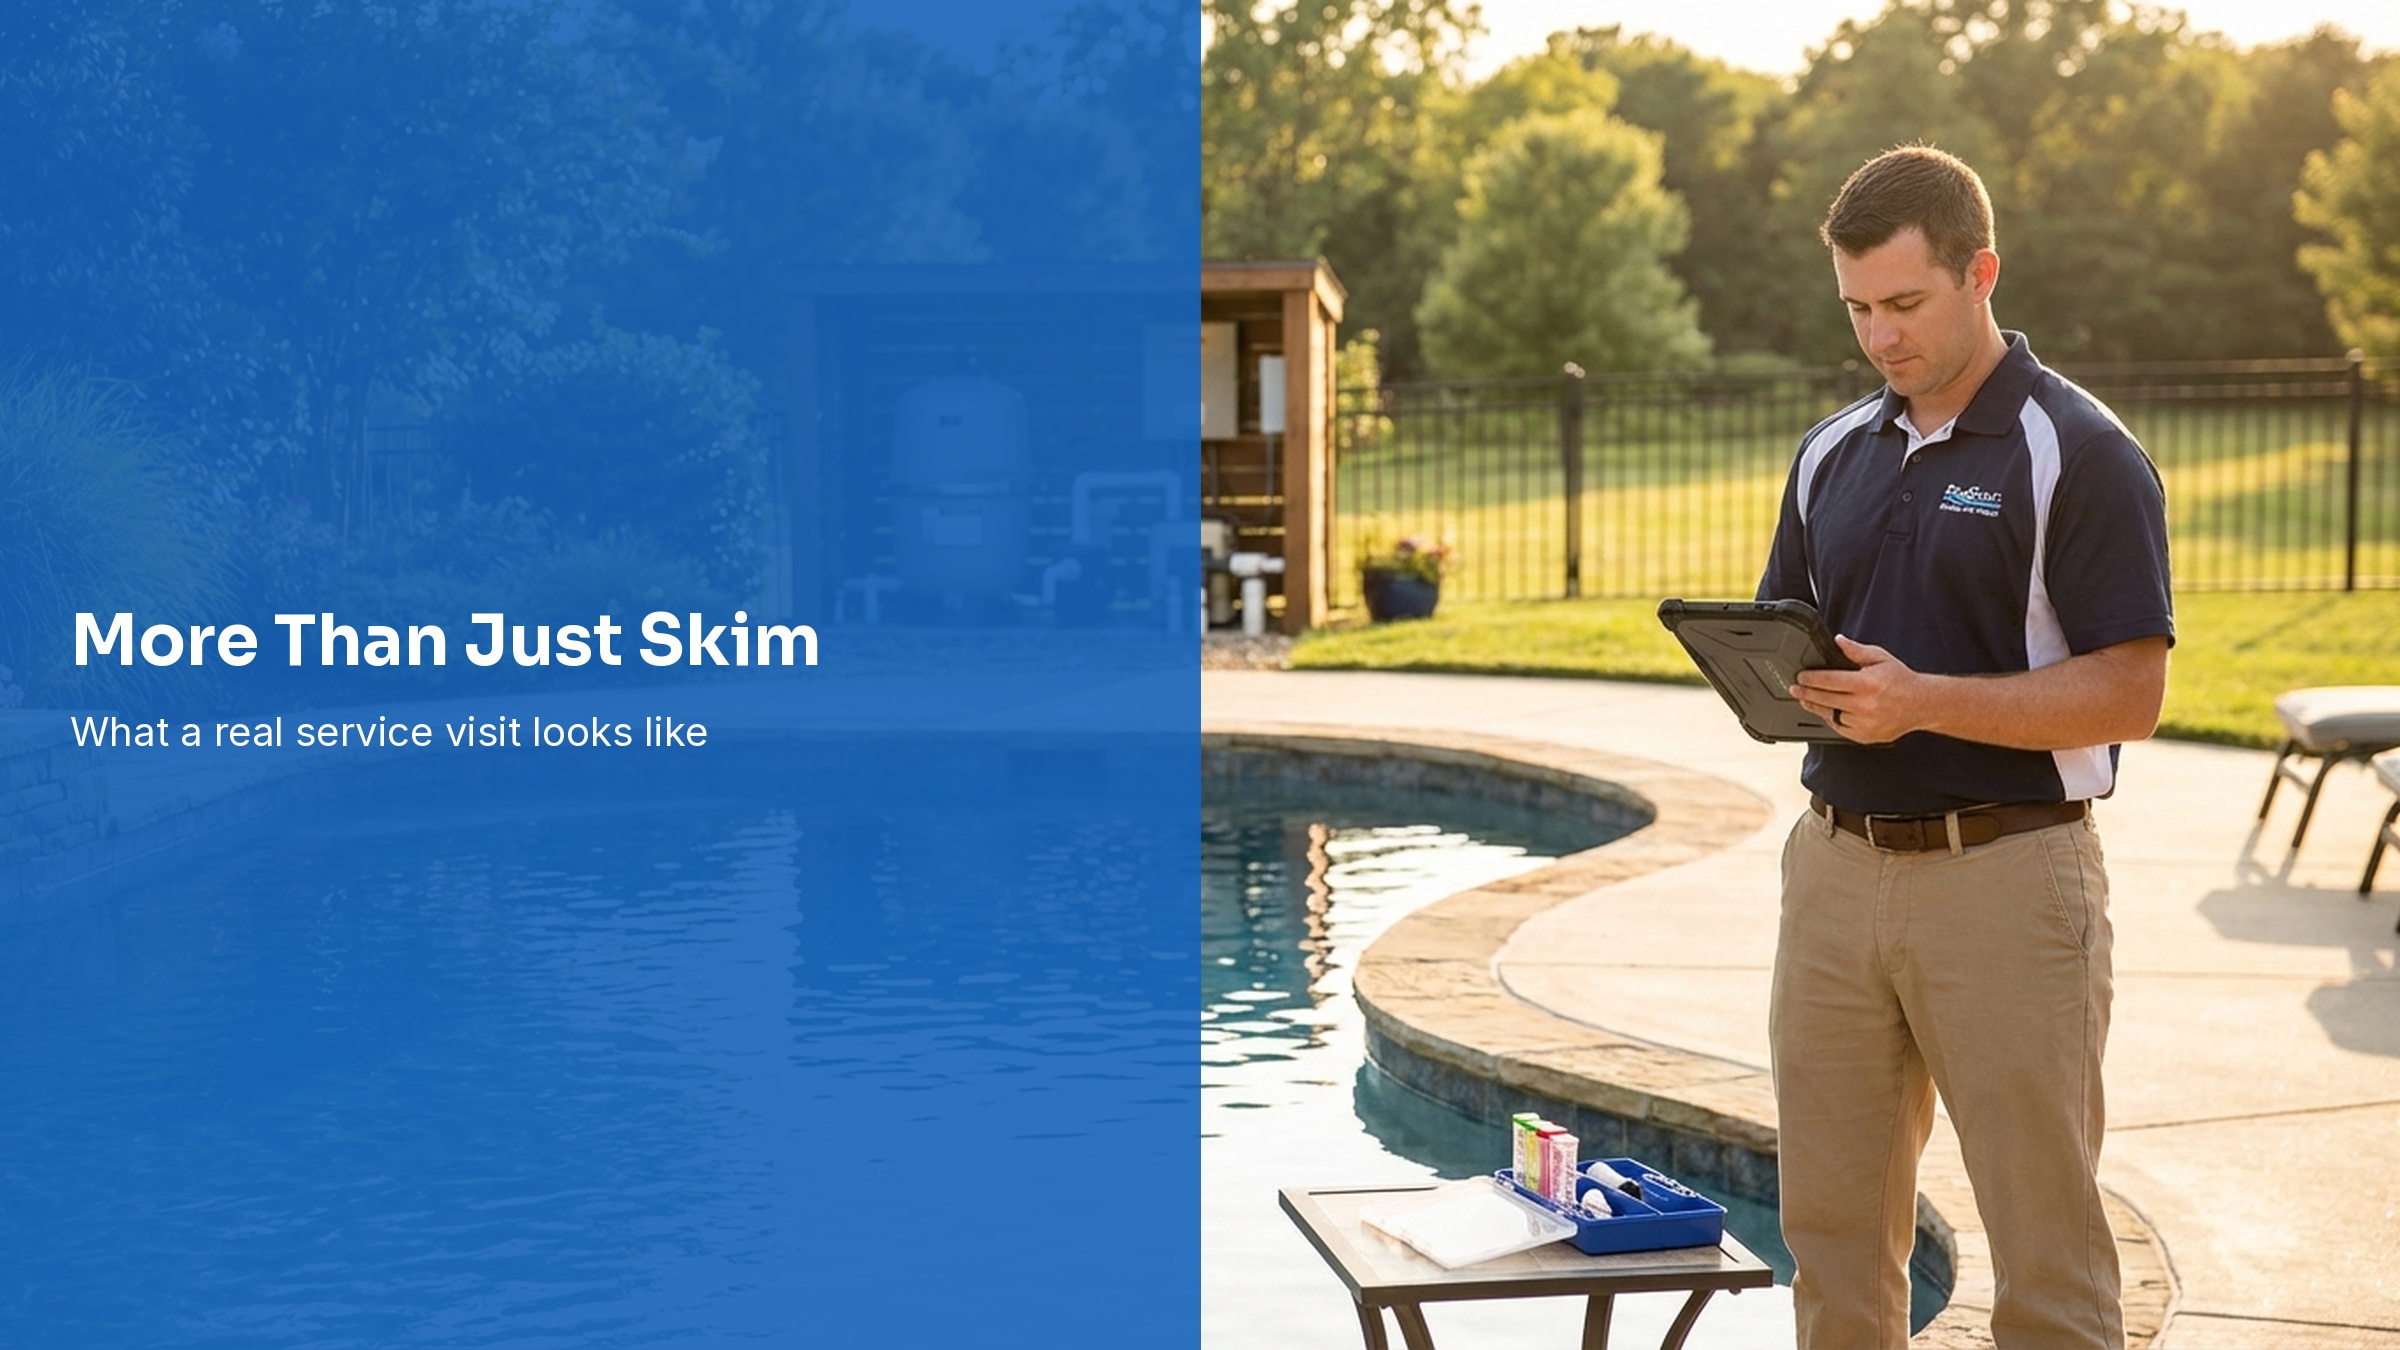
A good pool service visit is more than skimming leaves. It is a methodical process that touches every part of the pool system. The water, the equipment, the surfaces, and the area around the pool all get attention.
This guide walks through the 10 steps of a professional pool service visit. Whether you are a homeowner who wants to understand what you are paying for, or a pool tech who wants to make sure nothing gets missed, here is the complete breakdown.

Key Takeaways
- 10 steps make up a complete weekly pool service visit.
- Water testing comes first. You need test results before adding any chemicals.
- Every visit includes a visual equipment check. Catching a small leak early saves the customer thousands later.
- Service notes matter. If it is not documented, it did not happen.
- Average visit time: 15 to 30 minutes for a well-maintained residential pool.
1. Test the Water
Water testing is always the first step. You need to know where the chemistry stands before you add anything. A good tech tests every visit, not just when the water looks off.
What gets tested:
- Free chlorine (or bromine) level
- pH level
- Total alkalinity
- Cyanuric acid (stabilizer), checked monthly or as needed
- Calcium hardness, checked monthly
- Salt level (for salt pools)
Use a reliable test kit or test strips, and make sure they are not expired. Your chemical dosage calculator can help determine how much to add based on pool volume and current readings.
2. Skim the Surface
Use a leaf net to remove all floating debris from the water surface. Leaves, bugs, pollen, flower petals, and anything else that has landed since the last visit.
What to skim:
- Leaves and organic debris
- Insects and small animals
- Pollen and surface film
- Any floating objects (toys, bottle caps, etc.)
Skim before you brush. Brushing pushes debris off walls into the water, and you want a clean surface to work with. A flat leaf rake works well for heavy debris. A fine-mesh skimmer net catches pollen and small particles.
3. Brush the Walls and Tile
Brushing prevents algae from taking hold on pool surfaces. Even pools with good chemistry need brushing because algae can grow in dead spots where water does not circulate well.
What to brush:
- Walls from the tile line down to the floor
- Steps and benches
- Behind ladders and around fittings
- Waterline tile (calcium and body oil buildup)
- Corners and crevices where algae hides
Use a nylon brush for plaster and pebble finishes. Use a softer brush for vinyl and fiberglass. Steel brushes are only for bare concrete or heavy algae situations. Brush toward the main drain so debris settles where the suction can pick it up.
4. Vacuum or Check the Cleaner
Some pools have automatic cleaners (pressure-side, suction-side, or robotic). Others need manual vacuuming. Either way, the tech makes sure the pool floor is clean.
What to check:
- Manual vacuum if no auto cleaner is installed
- Automatic cleaner operation and coverage pattern
- Cleaner bag or canister (empty if full)
- Hose connections and wear
- Debris on the pool floor that the cleaner missed
If the pool has a robotic cleaner, the tech may not need to vacuum manually. But they should check that the robot is running, covering the whole pool, and not stuck on a step or drain cover.
5. Empty the Baskets
Two baskets need to be emptied every visit: the skimmer basket and the pump strainer basket (also called the hair and lint pot).
What to check:
- Skimmer basket: remove debris, check for cracks
- Skimmer weir door: make sure it swings freely
- Pump strainer basket: remove debris, check for cracks
- Pump lid o-ring: check for dryness, lube if needed
- Look for critters (frogs, lizards, mice) and rescue them
Full baskets restrict water flow. That means the pump works harder, the filter gets less water, and chemical distribution drops. Two minutes of basket cleaning prevents hours of equipment stress.
6. Add Chemicals
Based on the water test results from step 1, the tech adds chemicals to bring the water into balance. This is not guesswork. Every addition is based on the test numbers and the pool volume.
Common additions:
- Chlorine (liquid, granular, or tablets in a floater/feeder)
- Muriatic acid or sodium bisulfate to lower pH
- Sodium bicarbonate to raise alkalinity
- Cyanuric acid (stabilizer) to protect chlorine from UV
- Calcium chloride to raise calcium hardness
- Algaecide (preventive dose, usually weekly)
Good techs add chemicals to the water, never the other way around. They broadcast granular chemicals across the deep end, add liquid chemicals near a return jet for mixing, and never dump acid into a skimmer.
Use the CYA calculator to determine how much stabilizer to add, and the LSI calculator to check overall water balance.
7. Check the Filter
The filter is checked at every visit, even if it does not need cleaning. The tech reads the pressure gauge and compares it to the clean starting pressure.
What to check:
- Filter pressure gauge reading
- Backwash if pressure is 8-10 PSI above clean baseline
- Cartridge condition (replace when fraying or discolored)
- DE filter grids (add DE after backwash)
- Multiport valve for leaks at the waste port
- Air bleeder valve operation
A filter that runs at high pressure wastes energy and shortens equipment life. Most sand and DE filters need backwashing every 2 to 4 weeks. Cartridge filters need hosing off every 4 to 8 weeks and chemical cleaning a few times per year.
8. Check the Equipment
Every visit includes a walk around the equipment pad. The tech looks and listens for anything out of the ordinary.
What to check:
- Pump: listen for bearing noise, check for leaks
- Heater: error codes, corrosion, ignition
- Salt chlorinator: cell condition, output level, flow indicator
- Chemical feeder: tube condition, supply level
- Timer/automation: correct programming, time of day
- Any visible leaks, drips, or wet spots
Catching a small problem early is one of the biggest values of weekly service. A puddle under the pump means a mechanical seal is going. A buzzing heater means a bad capacitor. These are cheap fixes now and expensive emergencies later.
9. Inspect the Pool Area
Before leaving, the tech takes a final look around the pool area. This is not a formal inspection, but a quick visual check for anything that needs attention.
What to look for:
- Gate latch: does it close and lock properly?
- Deck hazards: cracks, raised pavers, standing water
- Pool light operation (if it is dark enough to check)
- Water level: too high or too low
- Unusual stains, discoloration, or algae growth
- Anything out of place (furniture in the pool, broken items)
Always close the gate behind you. If the customer has a dog, this is not optional. An open gate after a pool visit is a liability issue and a fast way to lose an account.
10. Leave Service Notes
The final step is documentation. Good techs leave a record of what was done, what was found, and what the customer needs to know.
What to document:
- Water test results (all readings)
- Chemicals added (type and amount)
- Filter pressure reading
- Any problems found or repairs needed
- Photos of issues (leaks, damage, algae spots)
- Recommendations for upcoming work
Service notes protect you and keep your customers informed. If a customer calls and says "you never came," your notes and photos prove you did. If a piece of equipment fails, your notes show you flagged it weeks ago.
This is also how you set expectations for future work. "Your filter element is starting to fray. Next month we should replace it." That one line prevents the surprise phone call when you show up with a quote.
Common Extras Beyond the Weekly Visit
Some tasks do not happen every week but are part of a complete service program.
- Filter deep clean. Chemical soak of cartridge elements or sand degreasing. Usually done 2 to 4 times per year.
- Salt cell cleaning. Acid wash to remove calcium scale. Every 3 to 6 months depending on the cell.
- O-ring maintenance. Lubricate pump lid, filter, and valve o-rings to prevent drying and cracking.
- Equipment pad cleanup. Clear leaves, cobwebs, and debris from around equipment.
- Acid wash or stain treatment. Periodic surface treatment to remove stains or calcium buildup.
These seasonal tasks are a good way to create steady work during slower months. Offer them as a package to your customers. Many pros run their filter cleans and equipment tune-ups in fall and winter to stay busy year-round. Learn more in our guide to starting a pool service business.
How Long Should a Service Visit Take?
A standard weekly visit on a well-maintained residential pool takes 15 to 30 minutes. Pools with heavy tree cover, large surface areas, or neglected chemistry take longer.
Most pool pros service 8 to 12 pools per day. Use the cost per pool calculator to figure out your true cost per stop, including drive time, chemicals, and labor. And check the service price calculator to make sure you are charging enough to cover those costs.
Track Every Visit with PoolDial
PoolDial makes it easy to document every service visit right from your phone. Log water readings, check off tasks, snap photos, and leave notes. Your customer sees what was done. You have a complete history for every pool on your route.
Pair it with chemical tracking to get dosing recommendations based on your readings and pool volume. And use route planning to optimize your stops so you spend less time driving and more time servicing.
Run Every Stop Like a Pro
PoolDial gives you service checklists, chemical tracking, photo documentation, and customer communication. All at $2/pool.
Start Your Free Trial